

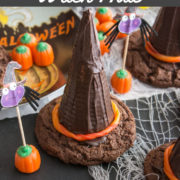
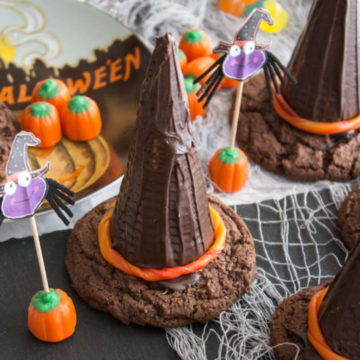
These witchy hats are perfect for your spooky party. With candy hidden inside, Halloween Witches Hats with Ice Cream Cones include a chocolate cookie base and chocolate coating. Yum!
This post contains affiliate links and I may earn a small commission when you click on the links at no additional cost to you. You can read my full disclaimer here.
As e.e. cummings wrote in his Halloween book Hist Wist,
whisk look out for the old woman
with the wart on her nose
what she’ll do to yer
nobody knows
I love this spooky poem, and I love seeing the "little twitchy witches" that come to the door on Halloween.
Thinking back on the Halloween costumes in my life, I think I have dressed up as a witch more than anything else, even more than as a "hobo" (wear one of dad's old shirts with a pillow stuffed inside), and "punk rocker" (glittery, multi-color hair spray, loads of makeup.)
In honor of those witchy costumes, let's make Halloween Witches Hats with Ice Cream Cones. They have a surprise inside, too!
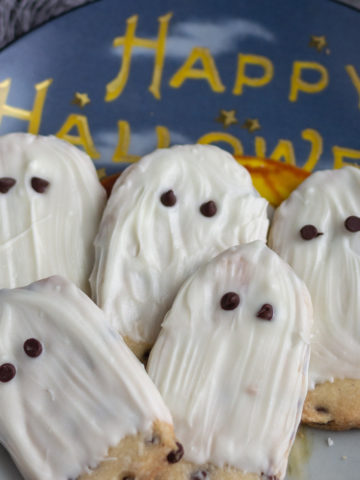
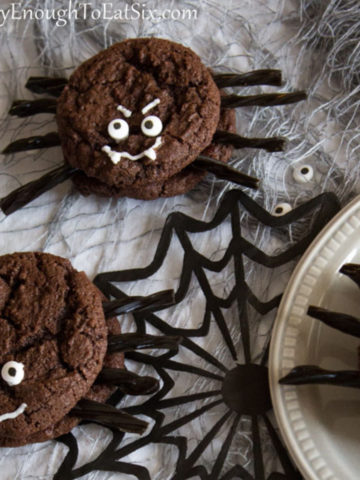
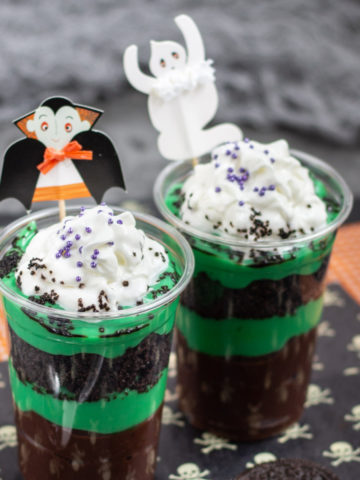
Make more spooky-fun treats like Halloween Pudding Cups, White Chocolate Ghost Cookies, and Creepy Eyeballs Candy-Coated Apples.
Why you'll love these treats
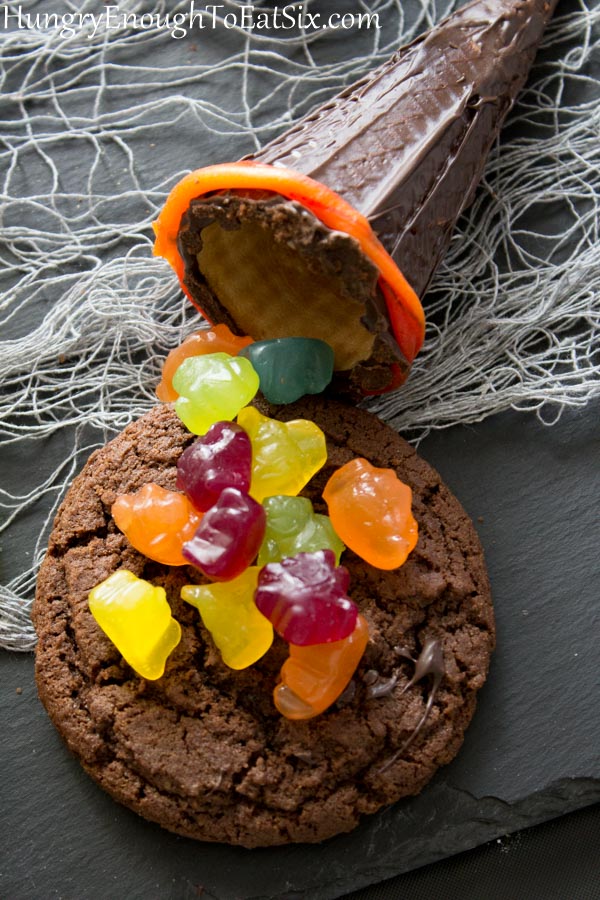
The appeal of these Halloween Witch Hat Treats is threefold: one part chocolaty coating on the cone, one part chocolate cookie at the bottom, and one part hidden treats inside!
I like to make these witches' hats ice cream cones with my Chewy Chocolate Cookies recipe. If you prefer, other chocolate cookies can also be used.
The entire outside of the hat is just as tasty to eat as the treats inside.
Make the Halloween candy-filled witch hats for a party at your house or in the classroom. They're not just for kids though: they're tasty Halloween desserts for adult parties, too. Or make them for your nieces, nephews, grandkids, or favorite neighbor kids.
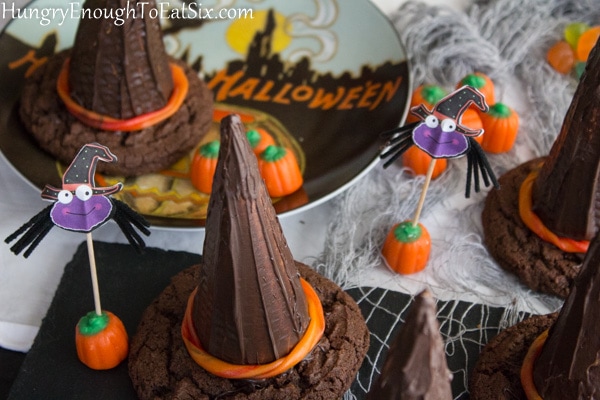
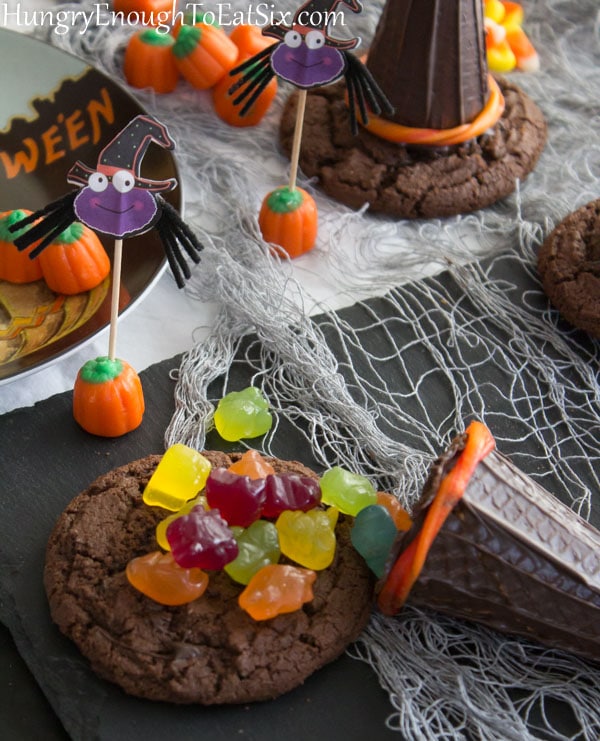
And that treat hiding inside is up to you! I filled my Witch Hats with candy corn, Mellowcreme pumpkins, and fruit gummies! (affiliate link.)
This recipe makes 12 Witch Hats, and they are good-sized, so one per person will be plenty. They'll be a lot of fun at a Halloween party.
🔪 How to make Halloween Witches Hats with Ice Cream Cones
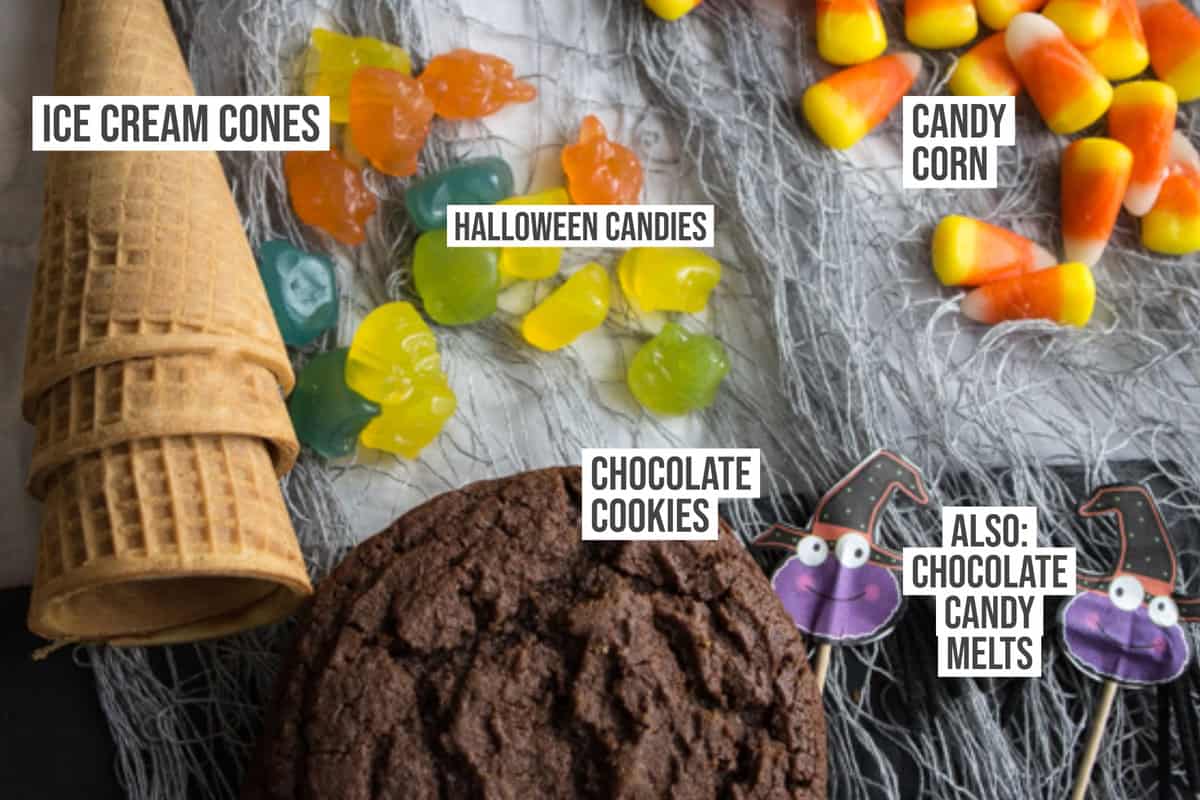
Ingredients:
- Chocolate Cookies: This is the recipe I use
- Ice Cream Cones: To make the pointy part of the hat
- Halloween Gummy Candies: Hide these inside
- Candy Corn: They go inside too!
- Chocolate Candy Melts: They easily paint the outside of the hats
- Fruit Roll-Ups: they become the colorful band on the hats
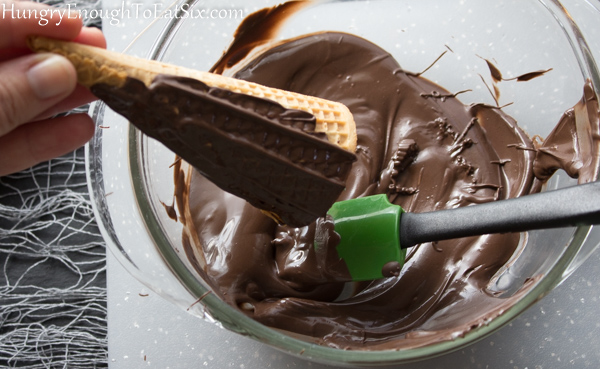
Step 1: Coat the ice cream cones
SAVE THIS RECIPE OR POST!
Microwave Dark Cocoa Candy Melts in a bowl until they're melted and smooth. Use a pastry brush to "paint" sugar cones with a coating of the Candy Melts. Let the cones rest on waxed paper until the coating is firm and dry.
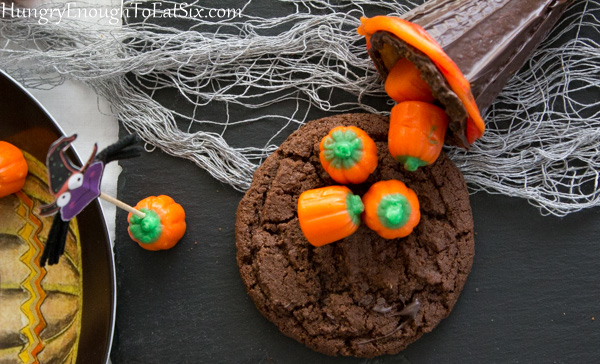
Step 2: Fill the cones
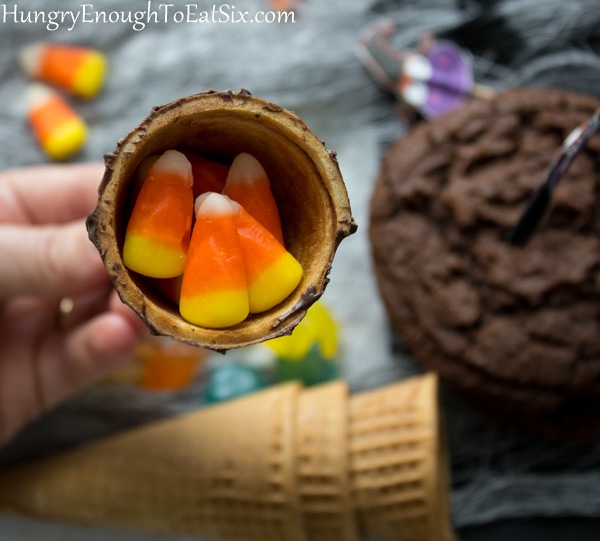
Fill a coated cone with candy of your choice, like candy corn, M&M's, or gummy worms.
Step 3: Attach the cone to a cookie
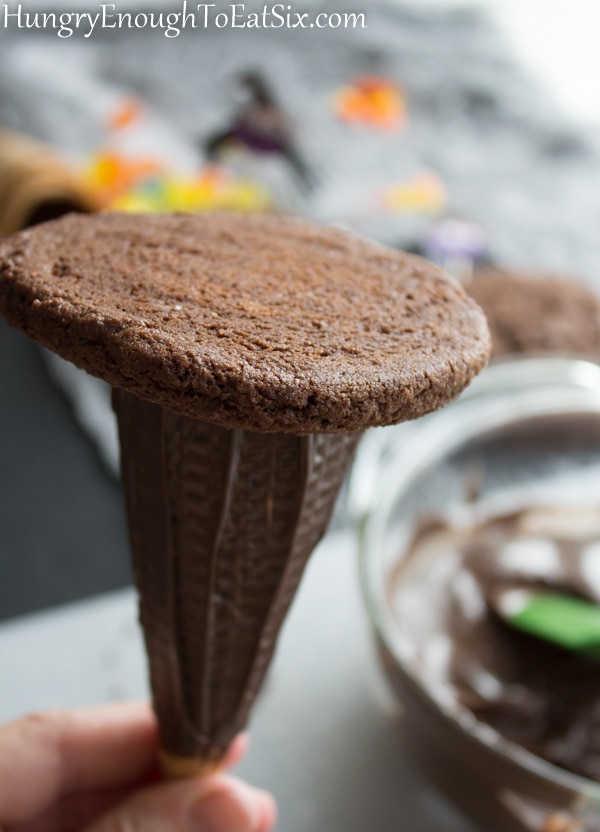
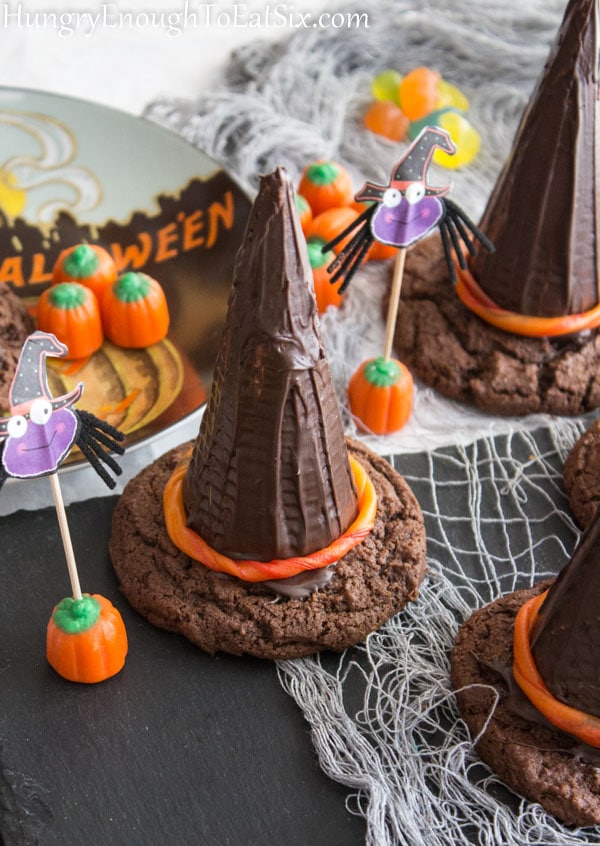
Paint a circle of melted Cocoa Candy Melts onto a chocolate cookie, then stick the cookie to the opening of the candy-filled cone. Carefully turn the whole thing over and set it on your work surface — it looks like a witch's hat now! Repeat with all the cones and cookies.
Step 4: Repeat with the rest of the cookies and cones
Fill and attach the rest of the cones and cookies. Let them sit until the chocolate has firmed up.
Step 5: Add the hat bands

Cut Fruit Roll-Ups into thin strips that you can twist into ropes. Wrap one around each hat where the cone meets the cookie to make the hat bands.
Step 6: Serve!
The Witch Hats can be served immediately, or kept covered in a cool spot until it's party time!
FAQs
I make my Witches' Hats with my Chewy Chocolate Cookies recipe—give it a try! You can also use your own homemade chocolate cookies, or storebought. Make sure they're chocolate so they match the coated ice cream cones, and are large enough to look like a hat brim.
Fill the cones with the candies of your choice: some that I like to use are M&M's, gummy bears or gummy worms, candy corn, Mellowcreme pumpkins, and Reese's Pieces.
Tips:
- The sugar cones can be coated with Candy Melts up to two days ahead.
- Semisweet chocolate chips could be used to paint the sugar cones, in place of the Candy Melts, if you prefer. I like using Candy Melts because they melt quickly and smoothly, and they harden very quickly as well. If you use chocolate chips, you will need to allow more time for the chocolate to harden.
- Look for orange, orangey-red, purple, red, or green fruit roll-ups for the witch's hat band.
- The candy filling is not included in the nutritional info, since the type of candy is up to you.
Find the recipe for candy-filled Halloween Witches Hats with Ice Cream Cones below. Here are a few more spooky treats to check out, too:

💬 How do you like these witches' hat treats? Leave a comment below!
📖 Recipe
Halloween Witches Hats with Ice Cream Cones
SAVE THIS RECIPE OR POST!
Ingredients
- 12 sugar cones
- 12 ounces Wilton Dark Cocoa Candy Melts
- 12 Soft Cocoa Cookies
- 4 orange-colored fruit roll-ups
- Candies of your choice to fill hats: fruit gummies, candy corn, Mellowcreme pumpkins, M&M's, fun-size candy bars, etc.
Instructions
Melt the coating:
- Place the candy melts in a large microwave-safe bowl.
- Microwave the candy melts in 30-second bursts, stirring between each one until it's smooth and melted.
Coat the cones:
- Place a piece of wax paper on your work surface that is large enough to hold all 12 cones.
- Hold a cone by the tip and gently cover the cone with the melted candy melts using a pastry brush to brush it on, or a spoon to smooth it on.
- Once all but the tip of the cone is covered in candy melts, stand the cone on the wax paper. Use the brush or spoon to cover the tip in candy melts as well.
- Repeat this with the rest of the sugar cones.
- Allow the cones to rest until the candy melt coating has hardened and can be touched. Reserve the leftover melted candy melts for assembling the hats.
Assemble the hats:
- Have ready the chocolate cookies, the coated sugar cones, the leftover melted candy melts, and the candies to fill the cones.
- (If the candy melts have hardened, microwave them in 30-second bursts, stirring between each until melted again.)
- Pick up one of the coated cones. Fill it with the candy of your choice, to no higher than just below the inside edge of the cone.
- Paint melted chocolate on the rim of the cone. Take one of the cookies and place it on the cone (top of the cookie touching the cone) so that the cone is in the middle of the cookie.
- Carefully invert the whole thing and set it down on your work area. It should now look like a witches hat!
- If the cone is wobbly on top of the cookie, dab some melted chocolate where the cone meets the cookie.
- Repeat these steps to fill all the cones and join them with the cookies. Allow the hats to sit until the chocolate has hardened.
Make the hat bands:
- Unroll the fruit roll-ups. (If your fruit roll-ups are sticky and difficult to unroll without tearing, pop them into the freezer for 5 minutes and they will unroll easily.)
- Cut each fruit roll-up lengthwise into 3 pieces. Roll each piece up from the long edge into a rope.
- Gently twist and stretch each rope (being careful not to tear them) until they are long enough to wrap around the cone.
- Wrap each hat with the fruit roll-up rope: the rope should go where the cone meets the cookie so that it looks like the band on a witches hat. Pinch the ends of the roll-up together in the back.
- Arrange the hats on a platter to serve immediately, or keep them in a covered container in a cool place out of direct sunlight until it's time to share them.
- The assembled hats will last about two days.
Notes
Tips:
- The sugar cones can be coated with Candy Melts up to two days ahead.
- Semisweet chocolate chips could be used to paint the sugar cones, in place of the Candy Melts, if you prefer. I like using Candy Melts because they melt quickly and smoothly, and they harden very quickly as well. If you use chocolate chips, you will need to allow more time for the chocolate to harden.
- Look for orange, orangey-red, purple, red, or green fruit roll-ups for the witch's hat band.
- The candy filling is not included in the nutritional info, since the type of candy is up to you.
Nutrition


Heidi says
These look great, Nancy, and so simple to make!
Nancy Mock says
They do come together quickly, and you can fill them with whatever you want! Thanks Heidi ????