


Decadent and double chocolate! Black Widow Chocolate Sandwich Cookies are deadly-good and dedicated to the Earth's most kickass hero!
This post contains affiliate links and I may earn a small commission when you click on the links at no additional cost to you. You can read my full disclaimer here.
Jump to:
One of my favorite Avengers: Black Widow
There was no way I could cook up a batch of Avengers-themed treats and not include one for Black Widow!
Black Widow's brief bio: Played on-screen by Scarlett Johansson, Black Widow (aka Natasha Romanoff) is the cool, stealthy, and deadly Russian assassin, international spy, S.H.I.E.L.D. agent and the first female member of the Avengers. (In the movie universe, that is. My husband and son tell me that in the comic book universe, Wasp—as in Antman & The Wasp is the first female Avenger!)
Some favorite moments with Black Widow in the Marvel movies include the tightly choreographed fight scene between her and Hawkeye, and her tense negotiation with Bruce Banner (aka the Hulk) in Calcutta as she convinces him to join the team—both in the first Avengers movie.
In Captain America: Civil War she's in Lagos and single-handedly takes down 11 bad guys… and then two more to boot!
And of course, her sacrifice in Avengers: Endgame, which made us all cry.
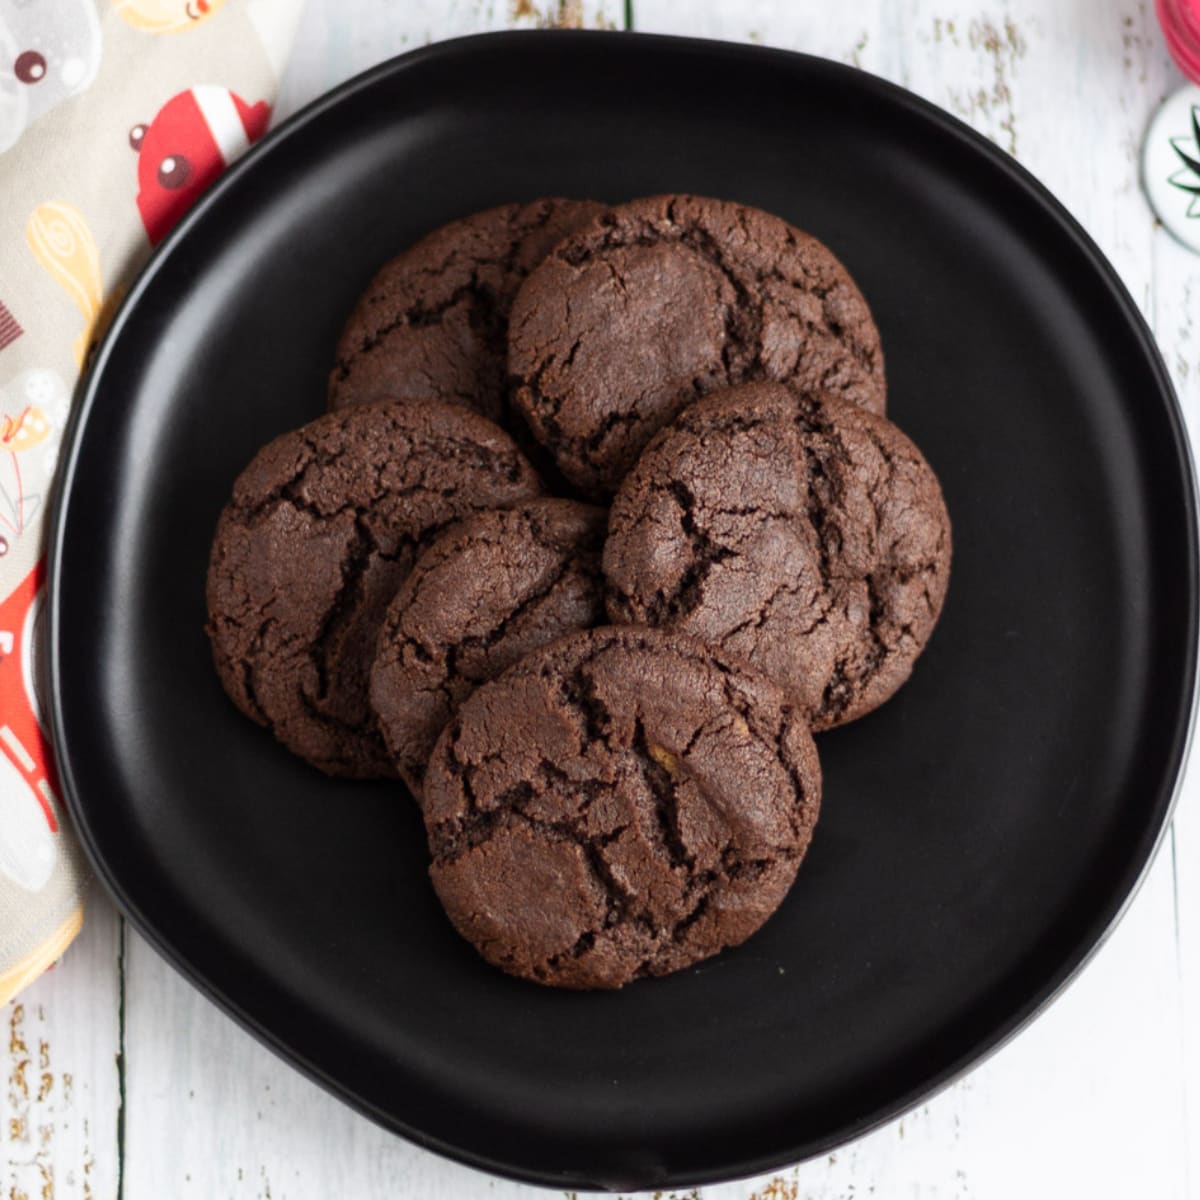
This is my fiercely decadent treat to honor her: Avengers Black Widow Chocolaty Cookies.
Hero worship!
Avengers-Inspired Treats!
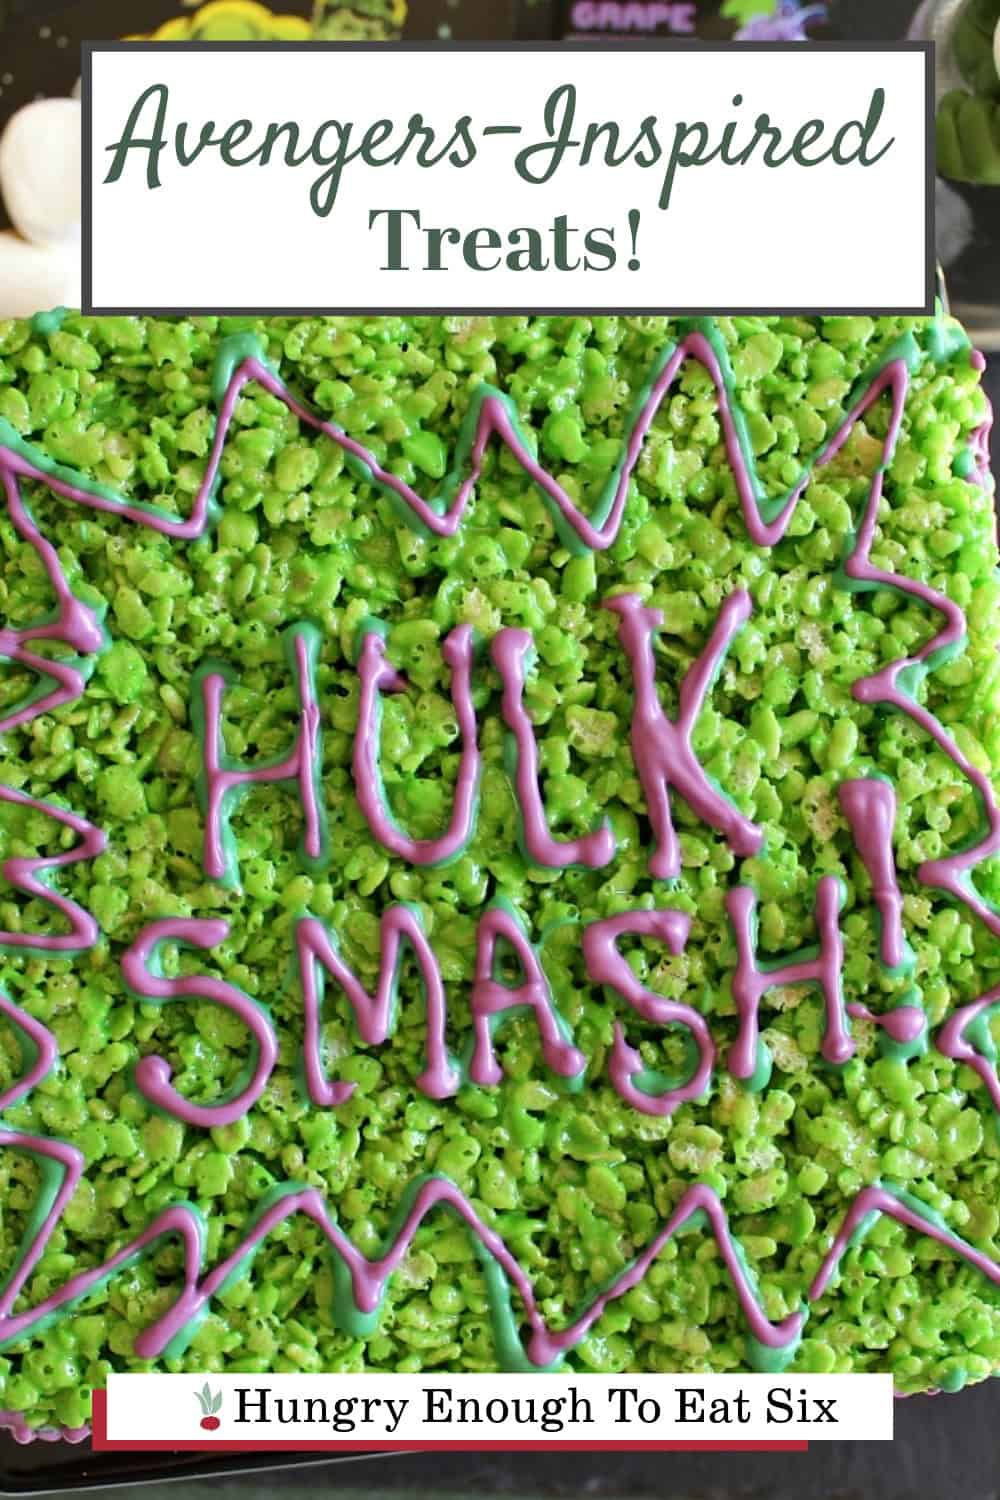
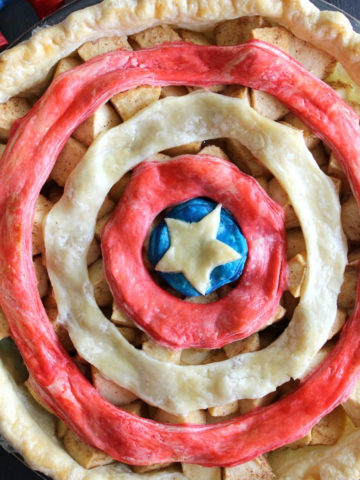
Black Widow was just the beginning—I went on to make three more Avengers-themed recipes: pastry, pie, and Krispie treats!
Why you'll love Black Widow Chocolate Sandwich Cookies
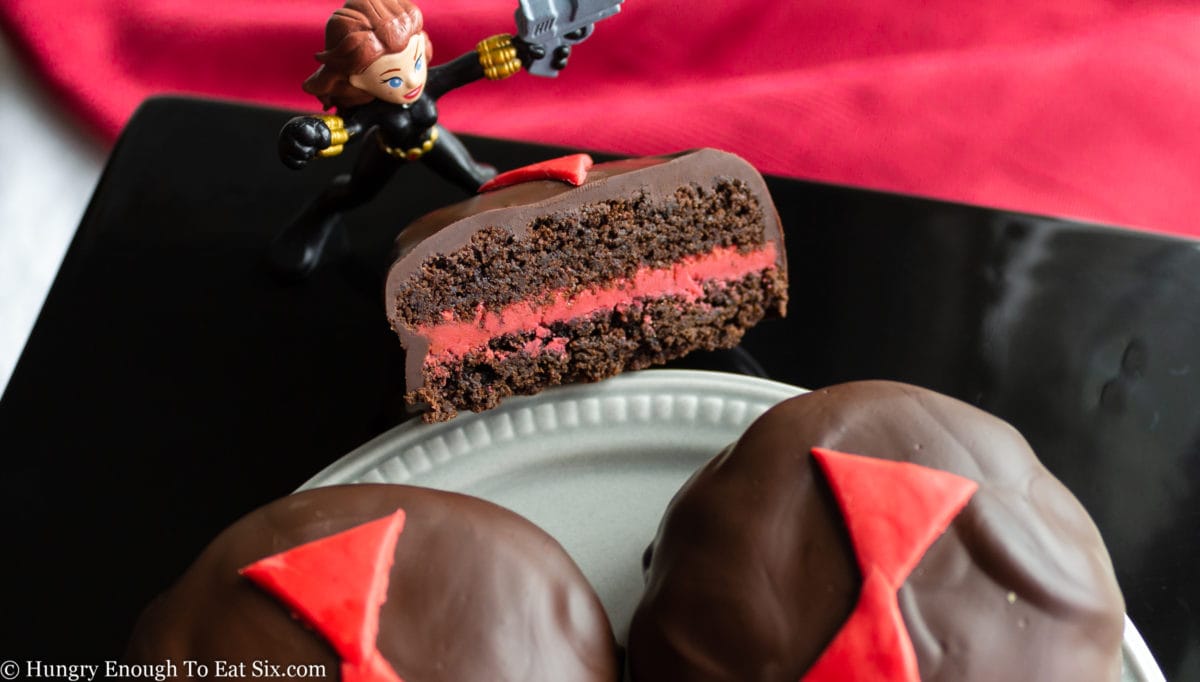
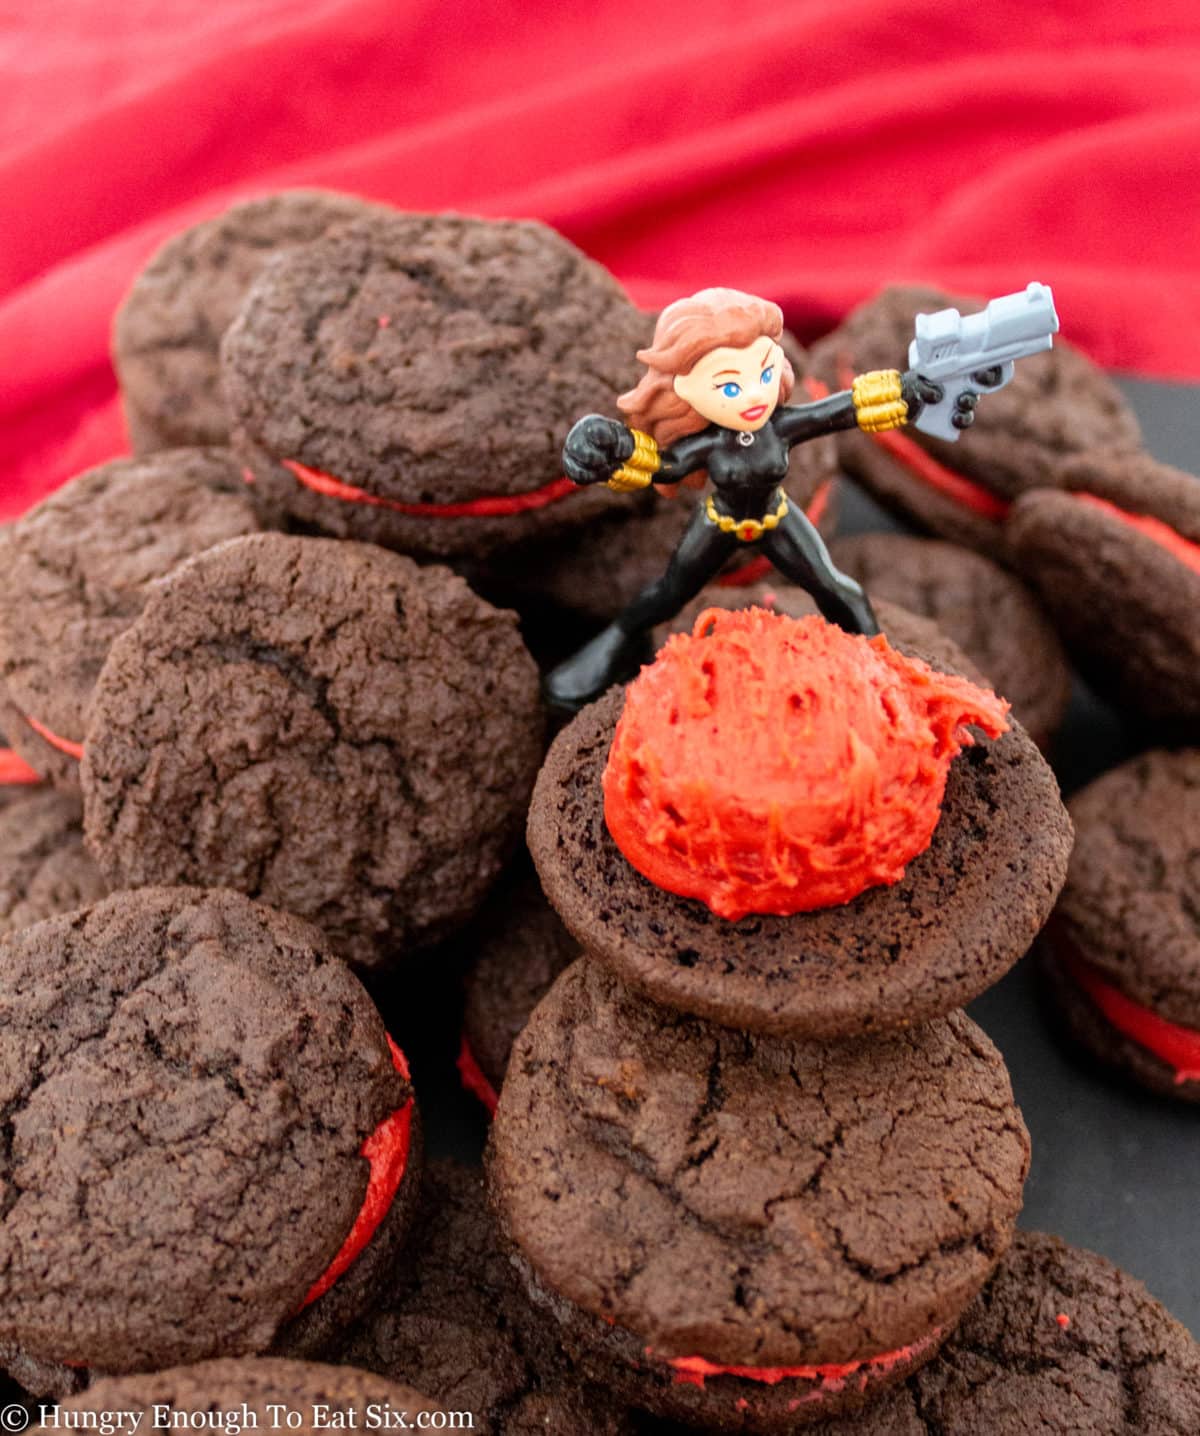
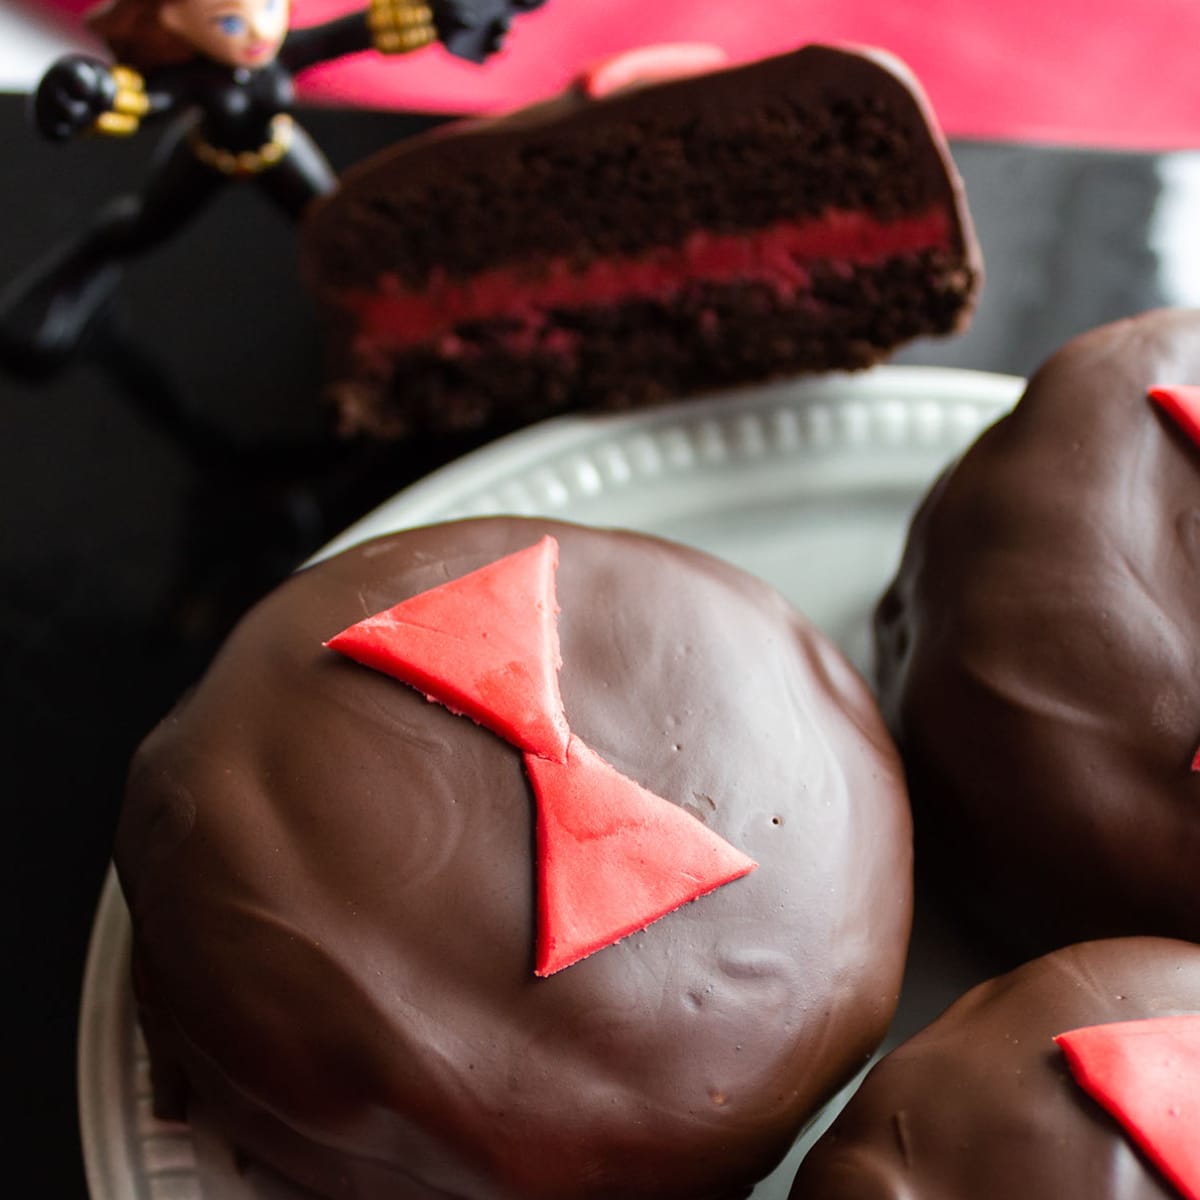
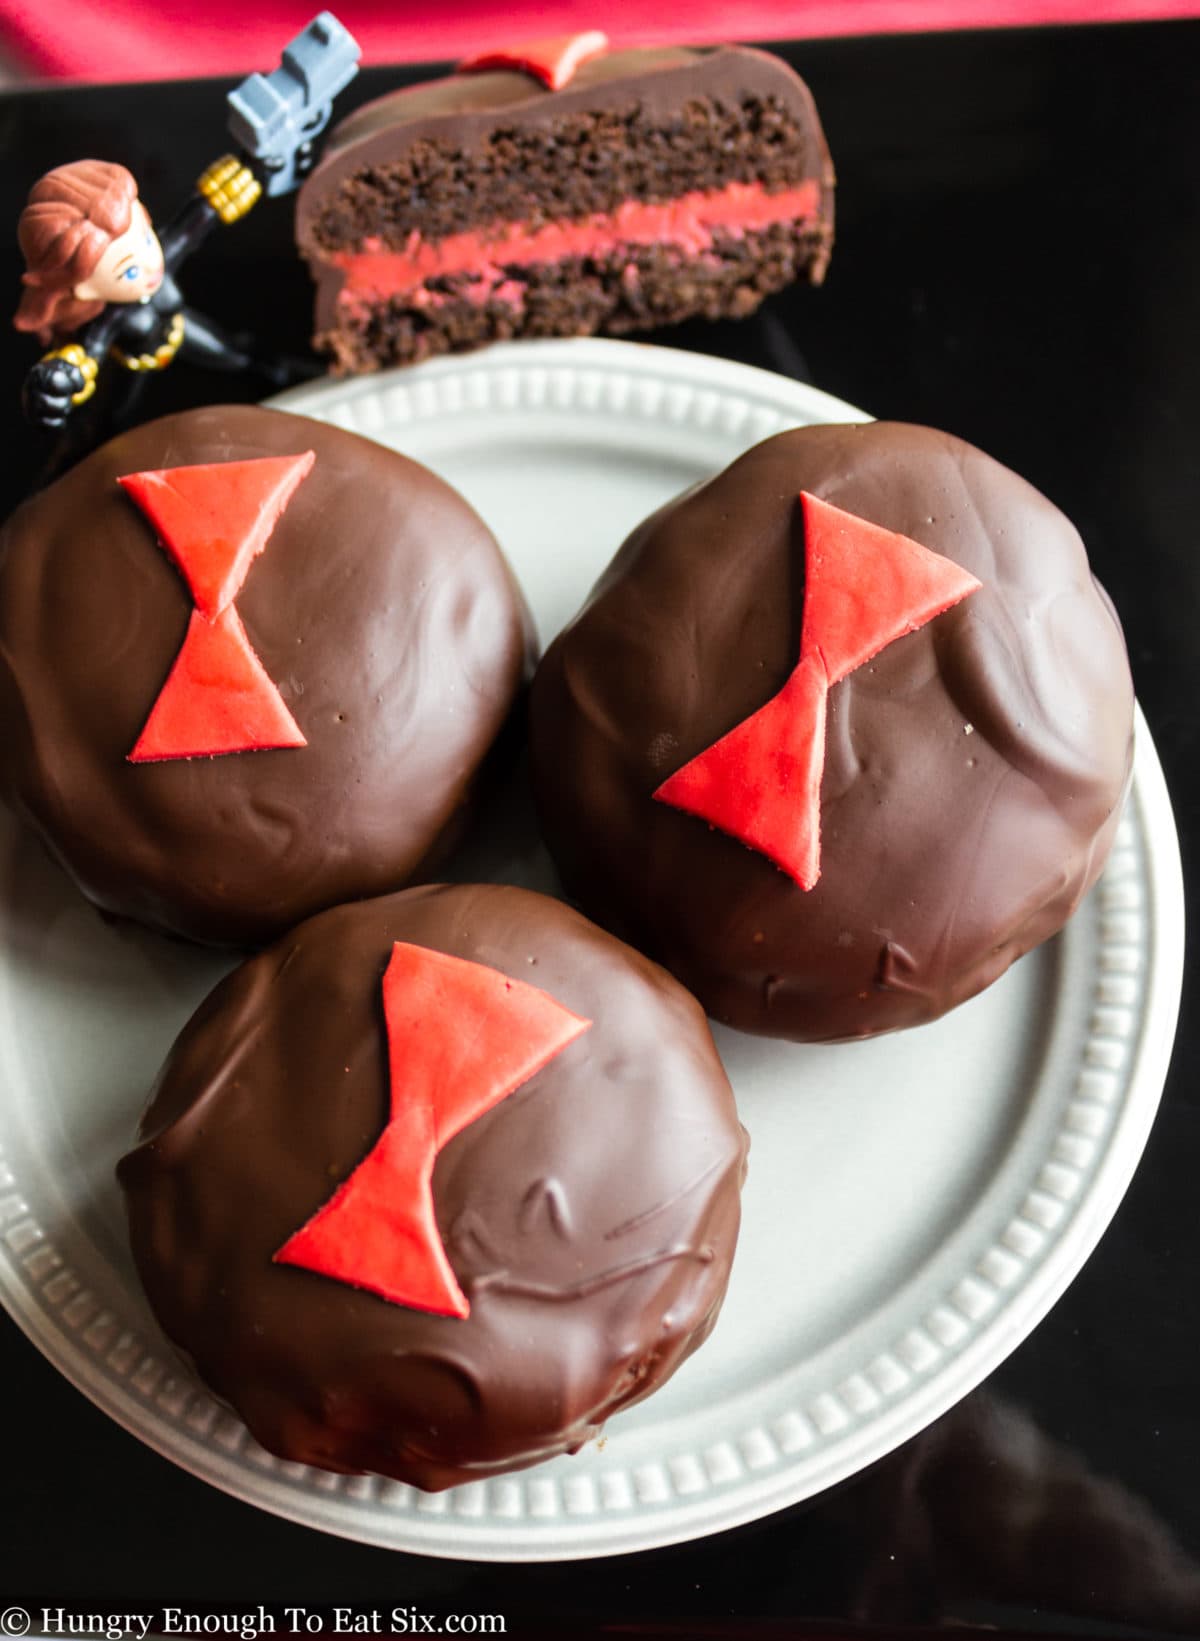
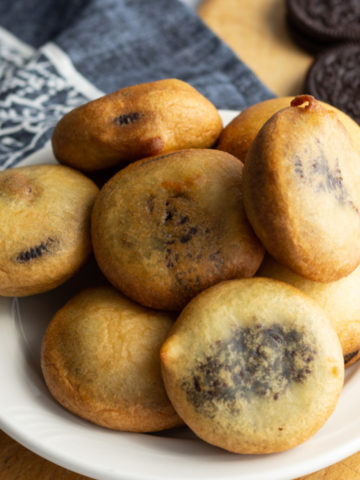
The colors of these cookie sandwiches are inspired by Black Widow—the Avenger and the spider. I used my recipe for Chocolate Cookies to hold a sweet center of bright red, buttercream frosting.
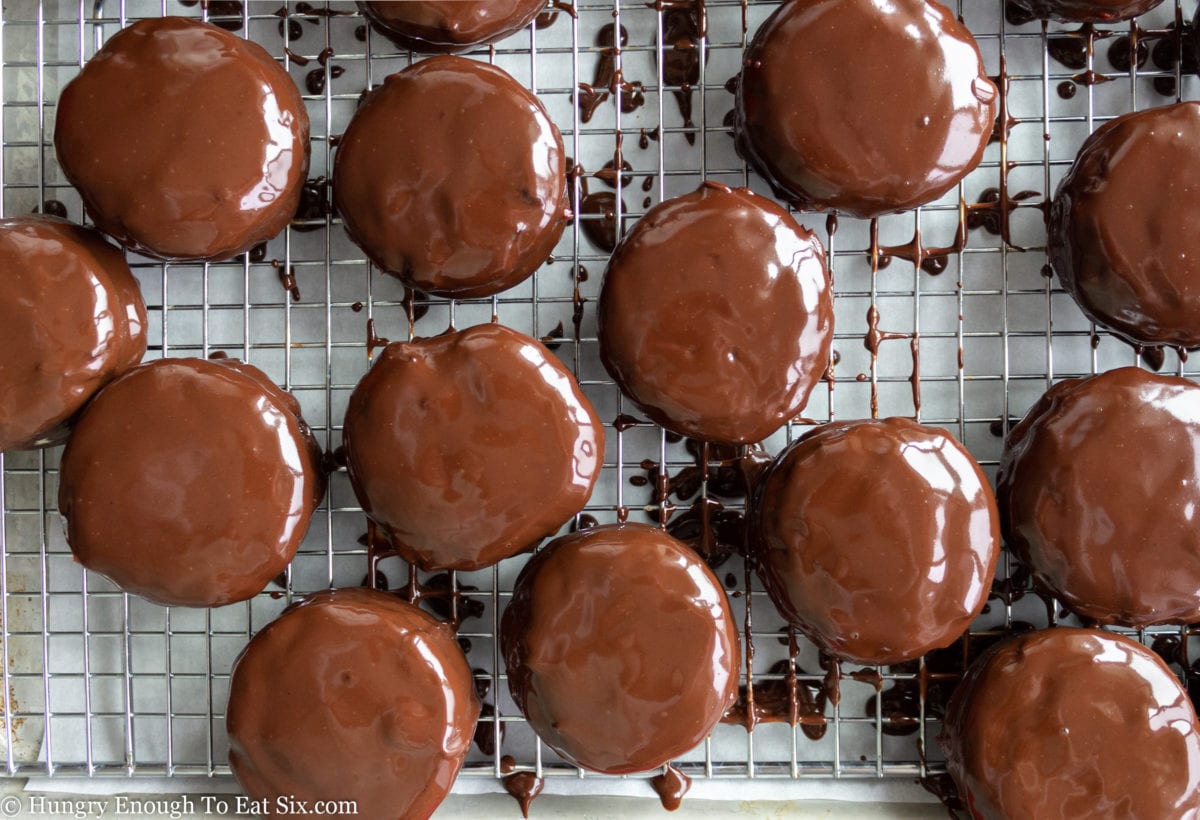
These cookie sandwiches then get a chocolate dip—an enrobing, if you will. And the finishing touch? A black widow emblem to top every cookie.
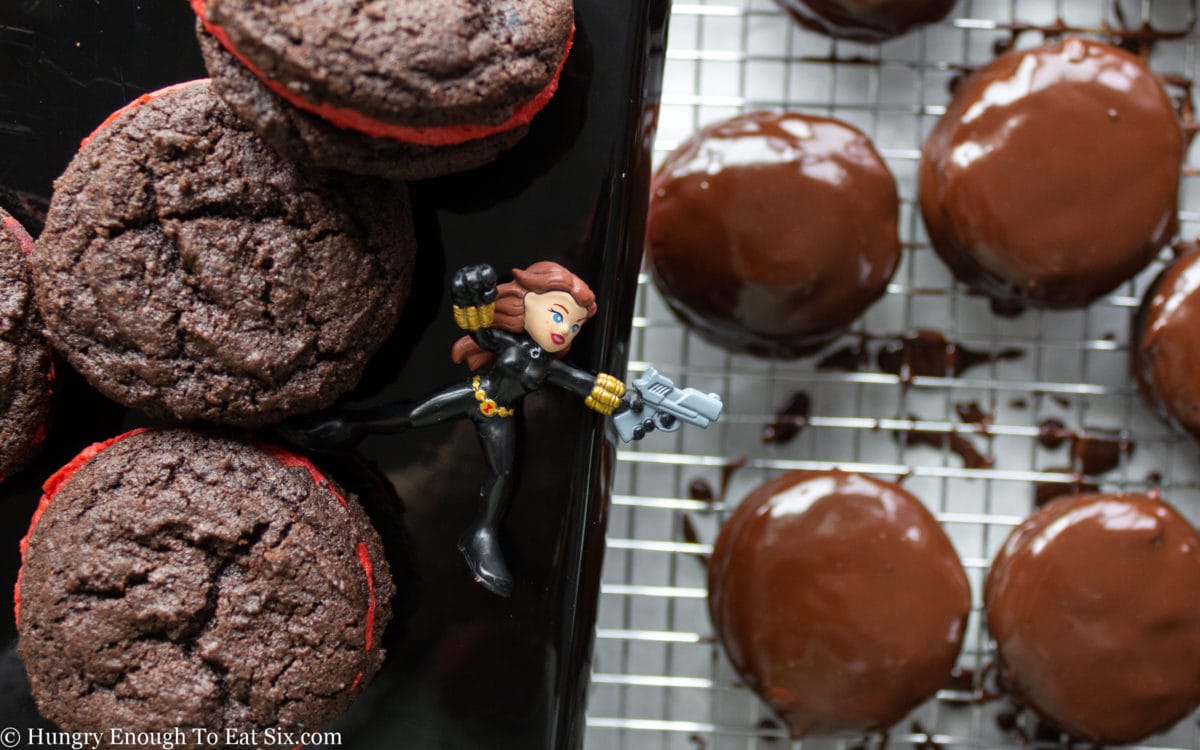
They're rich and delicious! And for the dipping (or enrobing, if you will), I use a trick I learned watching The Great British Baking Show: a potato masher. The flat surface of the inside of a potato masher makes a very handy contraption for coating each cookie sandwich quickly and easily and then sliding them right onto a cooling rack to set.
🔪 How to make Avengers Black Widow Chocolate Sandwich Cookies
Make the cookies
Make a batch of my Chocolate Cookies. You can visit this link to see the recipe, or just look at the recipe card below, where the ingredients and steps are all listed.
SAVE THIS RECIPE OR POST!
Make the buttercream
Blend butter and confectioners' sugar together to make the buttercream, along with enough red food coloring to make a really vivid shade of Black Widow red.
Make the cookie sandwiches
Spread buttercream between two cookies, squeezing the cookies just enough to make the frosting reach the edges. Make sandwiches using all the cookies.
Coat the cookie sandwiches
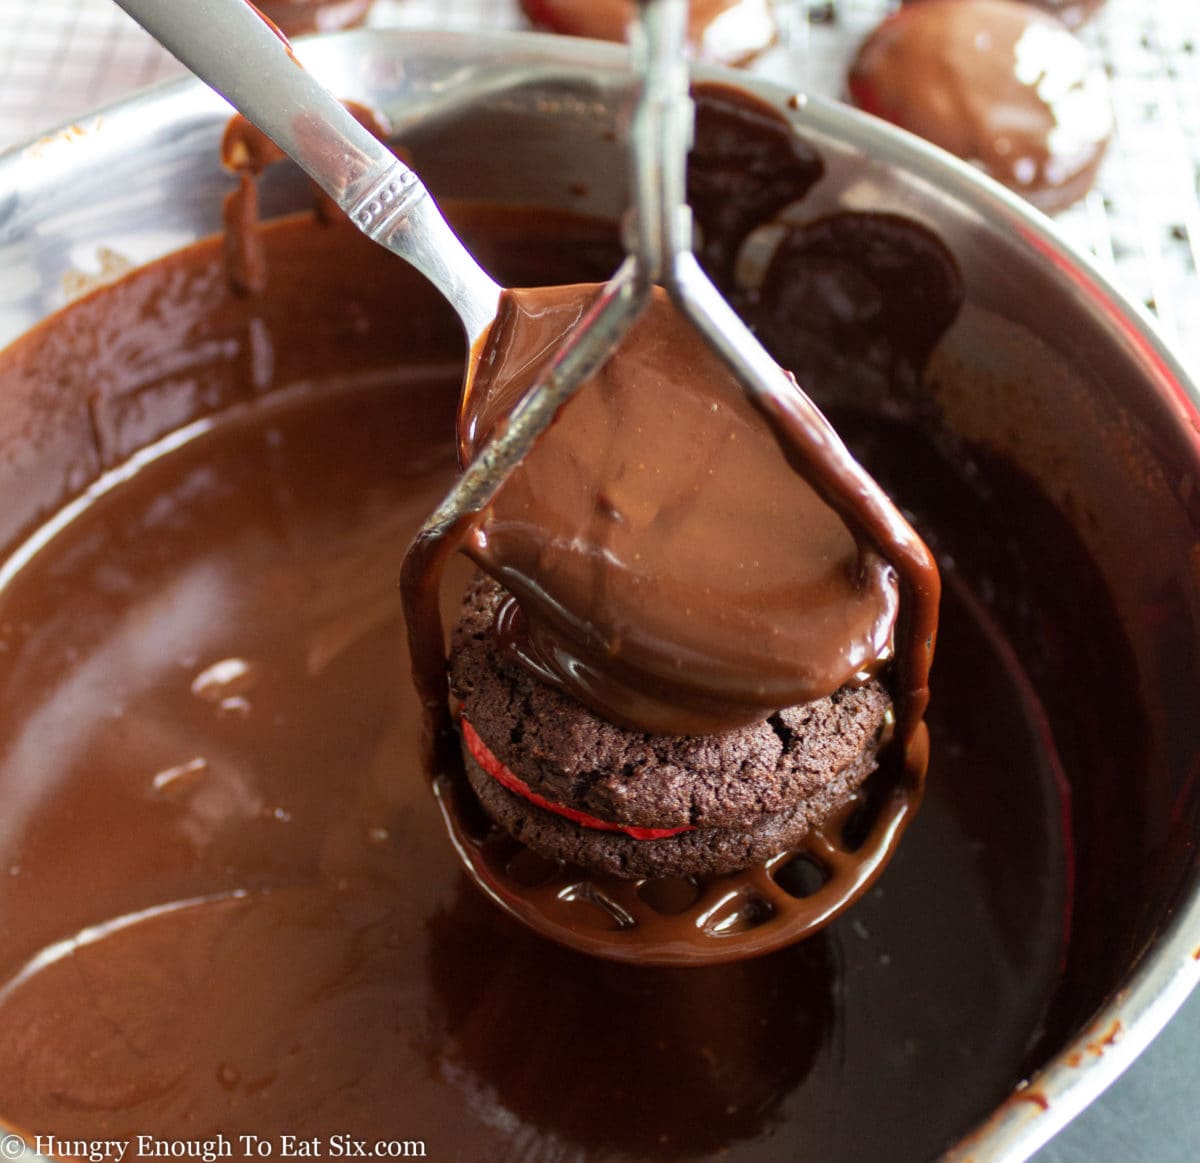
Melt the chocolate in a bowl, and then coat the cookie sandwiches in the chocolate, using various kitchen utensils (described below) to get them good and coated and to slide them on a cooling rack. Let the cookies rest until the chocolate sets.
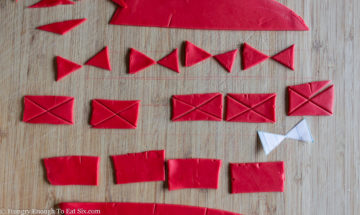
Make black widow symbols from fondant
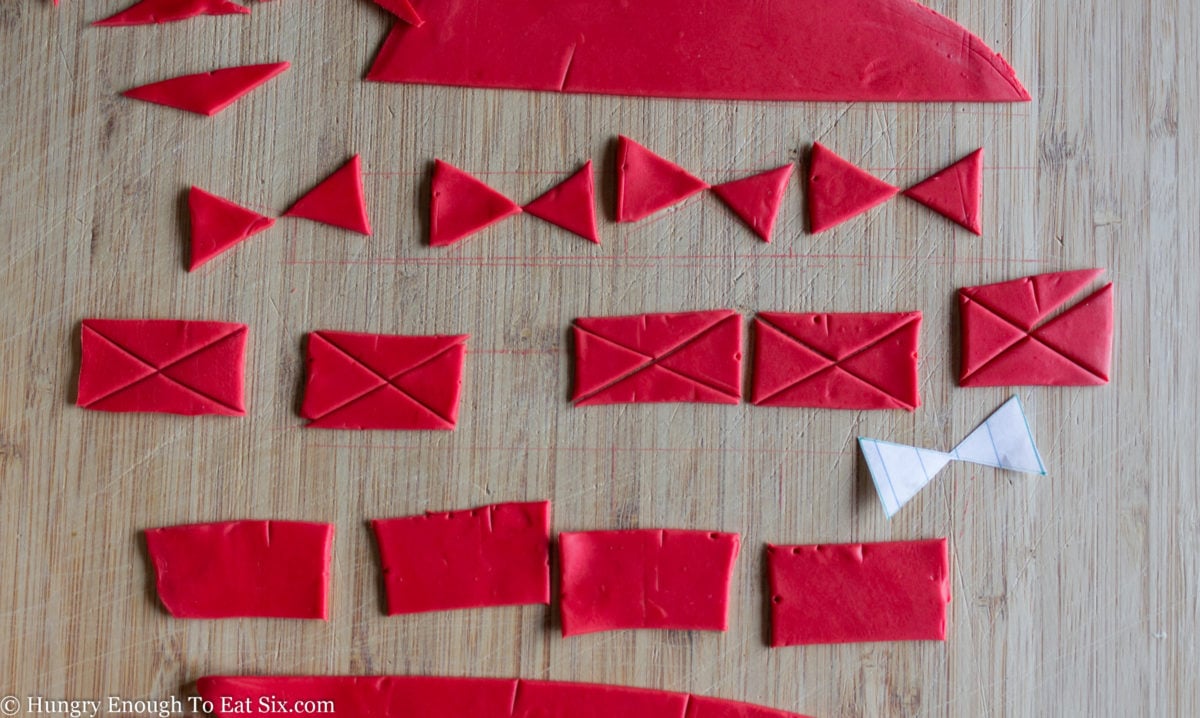
Roll red fondant into a thin sheet, and follow the steps below to create the classic Black Widow symbol. Place a Black Widow symbol on the top of each cookie.
Tips:
- Let the dough chill for 8 hours or overnight. This gives the dough time to come together and to make it easier to handle when scooping them to bake.
- If you need some shortcuts, you can use purchased chocolate cookies instead of baking your own. Same goes for the frosting: just get store-bought and add red food coloring to it. But trust me: homemade cookies and buttercream taste so much better!
“I've got red in my ledger. I’d like to wipe it out.” -Black Widow
If like Black Widow, you're also working to get the red out of your ledger—or if you’re just trying to avenge your way through the day, a bite of these Black Widow cookies will fix you right up.
The Black Widow Chocolate Cookies recipe is below. If you need even more Avengers-themed treats well baby, I have some for you!


💬 Did you make and devour this recipe? Leave a comment below.
📖 Recipe

Black Widow Chocolate Sandwich Cookies
SAVE THIS RECIPE OR POST!
Ingredients
Cookies:
- 2⅓ cups all-purpose flour
- ⅔ cup cocoa powder
- 1 teaspoon baking soda
- ¾ teaspoon salt
- ¾ cup butter, softened (6 ounces)
- ¼ cup vegetable shortening
- ¾ cup granulated sugar
- ¾ cup packed dark brown sugar
- 1 large egg
- 1 teaspoon pure vanilla extract
- 1 tablespoon strong coffee
Buttercream:
- ⅓ cup butter, softened
- 1 teaspoon pure vanilla extract
- 4 cups confectioners' sugar
- red food coloring
- ¼ cup milk
Chocolate and decor:
- 12 ounces chocolate chips
- 2 tablespoons vegetable shortening
- 2 ounces red fondant
Instructions
Make and chill the cookie dough:
- Combine the 2⅓ cups all-purpose flour, ⅔ cup cocoa powder, 1 teaspoon baking soda, and ¾ teaspoon salt in a large bowl.
- Place the ¾ cup butter, softened, ¼ cup vegetable shortening, ¾ cup granulated sugar, and ¾ cup packed dark brown sugar in the bowl of a stand mixer. Beat these together for 5 minutes until the mixture is fluffy. Add in the 1 large egg and mix. Mix in the 1 teaspoon pure vanilla extract and 1 tablespoon strong coffee.
- Add half of the dry mixture to the wet mixture. Pulse the mixer a few times to begin to mix. Add the rest of the dry mixture. Pulse the mixer a few more times. Then, stir the cookie together by hand until looks uniform.
- Turn the dough out onto a piece of plastic wrap. Wrap the dough up completely. (You can also use a Ziploc bag or a covered container.) Chill the dough overnight, or at least 8 hours.
Bake the cookies:
- Preheat the oven to 350° F. Line a baking sheet with parchment paper.
- Scoop tablespoon-size portions of the dough, and lightly roll them in your hands before putting them on the baking sheet. Space the dough balls about 2 inches apart.
- Bake the cookies for 14 to 15 minutes, until the edges are just set. Remove them to a cooling rack to cool completely.
Prepare the buttercream, in advance or while the cookies cool:
- Blend together the ⅓ cup butter, softened and 1 teaspoon pure vanilla extract. Add in 4 cups confectioners' sugar and beat the ingredients together.
- With the mixer running add several drops of red food coloring. For the ¼ cup milk, add it just a little at a time. Keep beating the frosting and adding milk little by little until the frosting reaches a good consistency: fluffy and not too stiff.
- If the frosting is not red enough mix a few more drops into it until you have the shade you like—try to have it be close to the shade of red in your fondant.
Sandwich the cookies and buttercream:
- Make cookie sandwiches by spreading 1 tablespoon of buttercream on the bottom of one cookie and pressing the bottom side of another cookie together with it. Press the cookies together just enough so that the frosting spreads out to be even with the edges of the cookies. (This will help the sides look smooth when they are coated in chocolate.)
- Make sandwiches with all of the cookies.
Coat the cookies:
- In a bowl in the microwave oven or in the top of a double-boiler on the stovetop, melt 12 ounces chocolate chips with 2 tablespoons vegetable shortening, stirring them together until the mixture is completely smooth.
- Set a cooling rack set over a parchment paper-lined surface. Have your cookie sandwiches, melted chocolate, a large spoon, and a fork ready. You will also need a utensil to hold the cookies: I like to use a potato masher that when held pointing down has a flat surface where the cookie can sit. Or, use a large slotted spoon or a large fork: something that will allow excess chocolate to drip away.
- Place a cookie on the potato masher or utensil, hold it over the bowl of melted chocolate, and use a large spoon to spoon the chocolate over the cookie. Be sure to spoon it over all of the exposed cookie including the sides and around the bottom edge.

- When the cookie is coated push it off the potato masher onto the cooling rack - you can do this by sliding the fork under the cookie to move it onto the rack.
- Repeat these coating steps with all of the cookie sandwiches. Allow them to set at room temperature until the chocolate is firm—the time will vary depending on how warm your kitchen is, but you can aim a small fan at the cookies to speed the process along.

Roll and cut the fondant:
- Roll out 2 ounces red fondant to a ¼-inch thickness. Use a tiny bit of confectioner’s sugar on your work surface if the fondant is sticking.
- Use a sharp knife and a ruler to make straight cuts, and slice the fondant into 1-inch x 2-inch rectangles. (I do this by first cutting the fondant into 1-inch thick strips and then slice these strips into 2-inch long sections.)
- When you have enough rectangles (one for each of your cookie sandwiches) slice through each rectangle corner to corner, like a giant X through the middle.

- You'll use the triangles from the shorter sides—the flatter triangles can be discarded (or eaten sneakily while you work.)
- Place two triangles on the top of a cookie sandwich in the center, so that the points are touching and form an hourglass shape—like the marking on a black widow spider! If the triangles are not sticking to the cookie you can moisten the backsides slightly with water and this will help them stick.
- Place fondant triangles in the hourglass pattern on each of the cookies. They are now ready to serve. Or more fittingly for Black Widow, they are now ready to kick ass.
- These cookies can be stored covered in a container deep enough that the tops won’t be smudged or mussed, for up to three days. Makes about 18 cookie sandwiches.
Notes
- Let the dough chill for 8 hours or overnight. This gives the dough time to come together, and to make it easier to handle when scooping them to bake.
- If you need some shortcuts, you can use purchased chocolate cookies instead of baking your own. Same goes for the frosting: just get store-bought and add red food coloring to it. But trust me: homemade cookies and buttercream taste so much better!
Nutrition


I'm eggcited to hear from you