

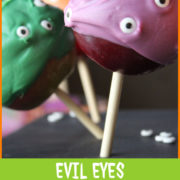
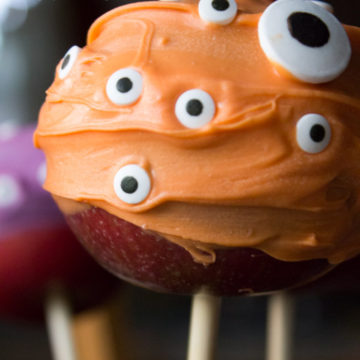
Use those New England fall apples to make spooky Halloween Candied Apples! Made with easy-to-use Candy Melts and creepy candy eyes, it's a 30-minute treat that my little monsters love.
This post contains affiliate links and I may earn a small commission when you click on the links at no additional cost to you. You can read my full disclaimer here.
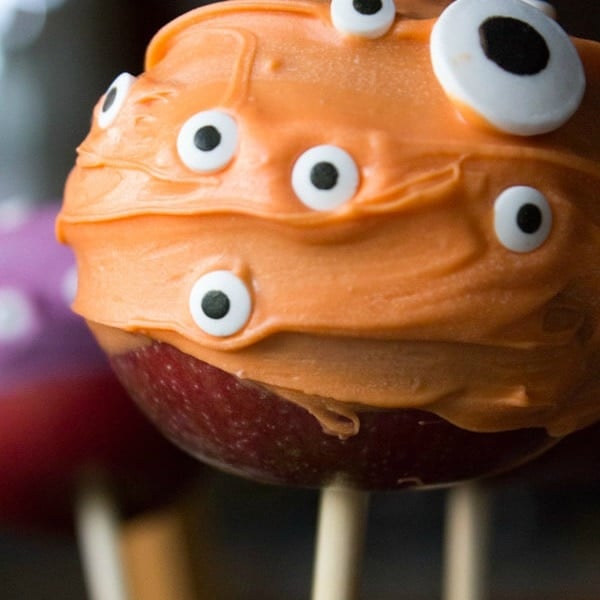
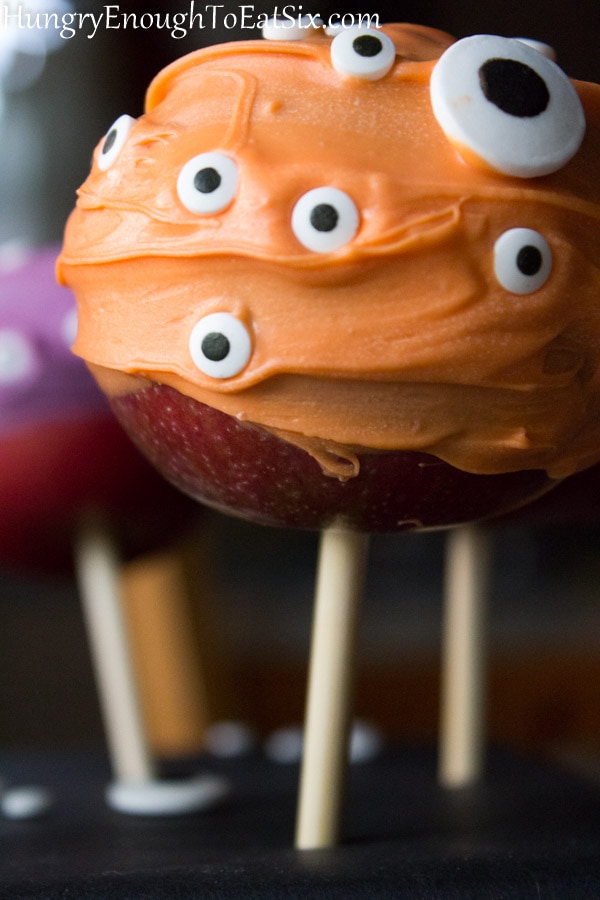
It's an eye for an eye... and another eye, and another eye! When you have a bowl full of little candy eyes, inevitably, every food in your house will soon be dotted with eyes!
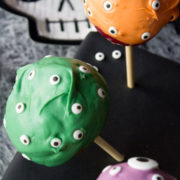
I picked up several packages of candy eyeballs and added them to these Halloween Candied Apples! With the vivid Halloween colors in the melted candy coating, they're the perfect base for a whole lot of creepy eyeballs. They remind me of the monsters in Monsters, Inc.!
In a nutshell... 🐿️
- What this is: Spooky-fun candied apples, inspired by a kitchen experiment that left everything covered in creepy-cute candy eyballs! Turn crisp and fresh New England apples into holiday treats.
- You'll love this part: They're wonderfully quick to make, ready in just 30 minutes. And no messy candy thermometers or boiling sugar. They're made with colorful Candy Melts.
- How it's made: Melt one or several colors of Candy Melts, and roll the apples to coat them in candy. Press in the eyeballs and let them cool.
Jump to:
A little candied apple history
Traditional candied apples are coated with melted, red cinnamon candies. They were first invented by New Jersey candy maker William W. Kolb in 1908. He created candied apples not to be eaten, but as a way to show off the vivid cinnamon candies! But as it turns out, his customers loved eating the candied apples, and a legendary treat was born.
Colorful candied apples became a popular Halloween treat to give to kids for trick-or-treating for decades. They also became a popular state fair treat. (Along with Fried Dough!)
Why you'll love these Halloween treats
These Halloween candy apples are fun, sweet treats—a nice combination of a healthy, fresh apple and a little candy! You can make them not just for Halloween, but anytime you want a fun snack for your little monsters.
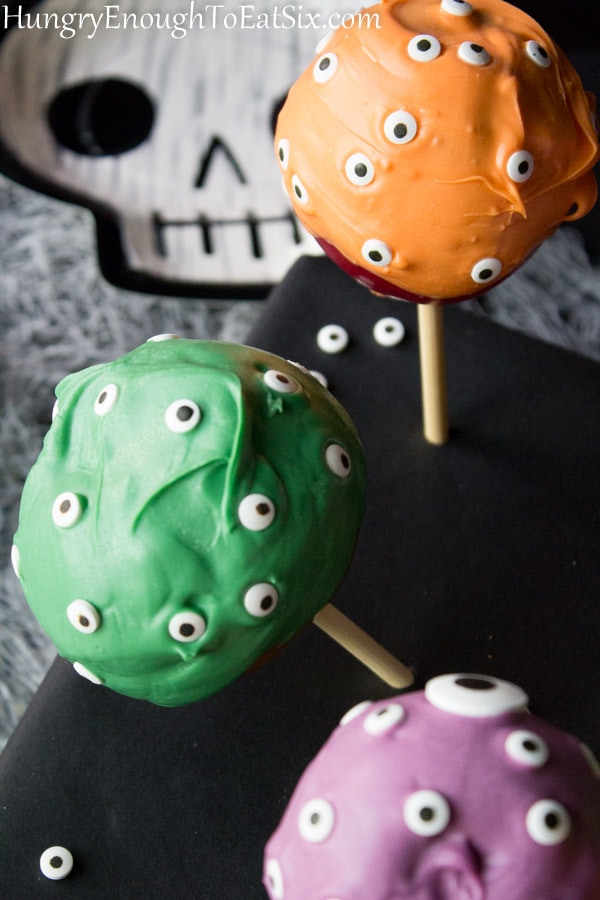
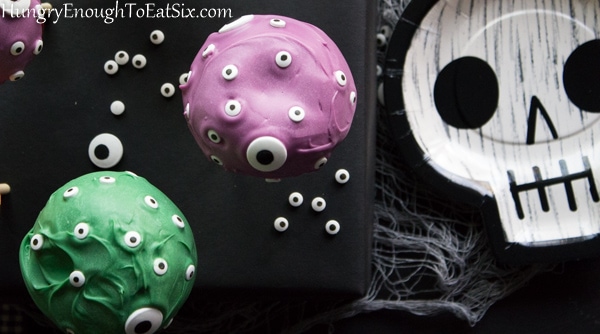
The apples have a sweet candy coating made from Wilton Candy Melts, which come in every color imaginable. Make purple candy apples, green candy apples, orange candy apples—there are so many shades that are perfect for Halloween.
Candy Melts are also easy to use, as they melt quickly and smoothly. The coated Halloween apples dry fast, which is great news when little monsters are waiting to sink their fangs into them!
Speaking of kids, Halloween candy apples are a great recipe to make with kids. They can roll the apples in the Candy Melts and add the eyes. They're awesome treats for a Halloween party or school celebration!
Make sure to save some of your fresh-picked fall apples for these creepy Halloween snacks!
🔪 How to make Halloween Candied Apples
Ingredients:
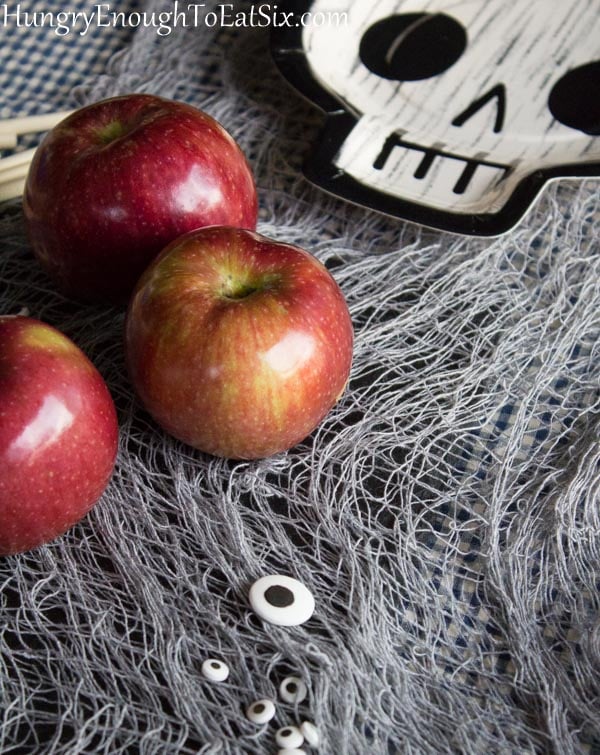
- Apples: Since they're getting a sweet coating, choose a tart apple variety like McIntosh or Granny Smith.
- Candy Melts: These colorful melting candies from Wilton are sweet and easy to use. Choose Halloween colors like orange, purple, green, and black
- Treat sticks: Pick up wooden treat sticks to stick into the apples.
- Candy Eyeballs: Look for them with the Halloween sprinkles and decor.
Get your ingredients and tools ready
Get a platter or styrofoam block ready to hold the coated apples. Pour the candy eyes into a small dish. Insert a wood treat stick into the bottom of each apple.
SAVE THIS RECIPE OR POST!
Melt the Candy Melts
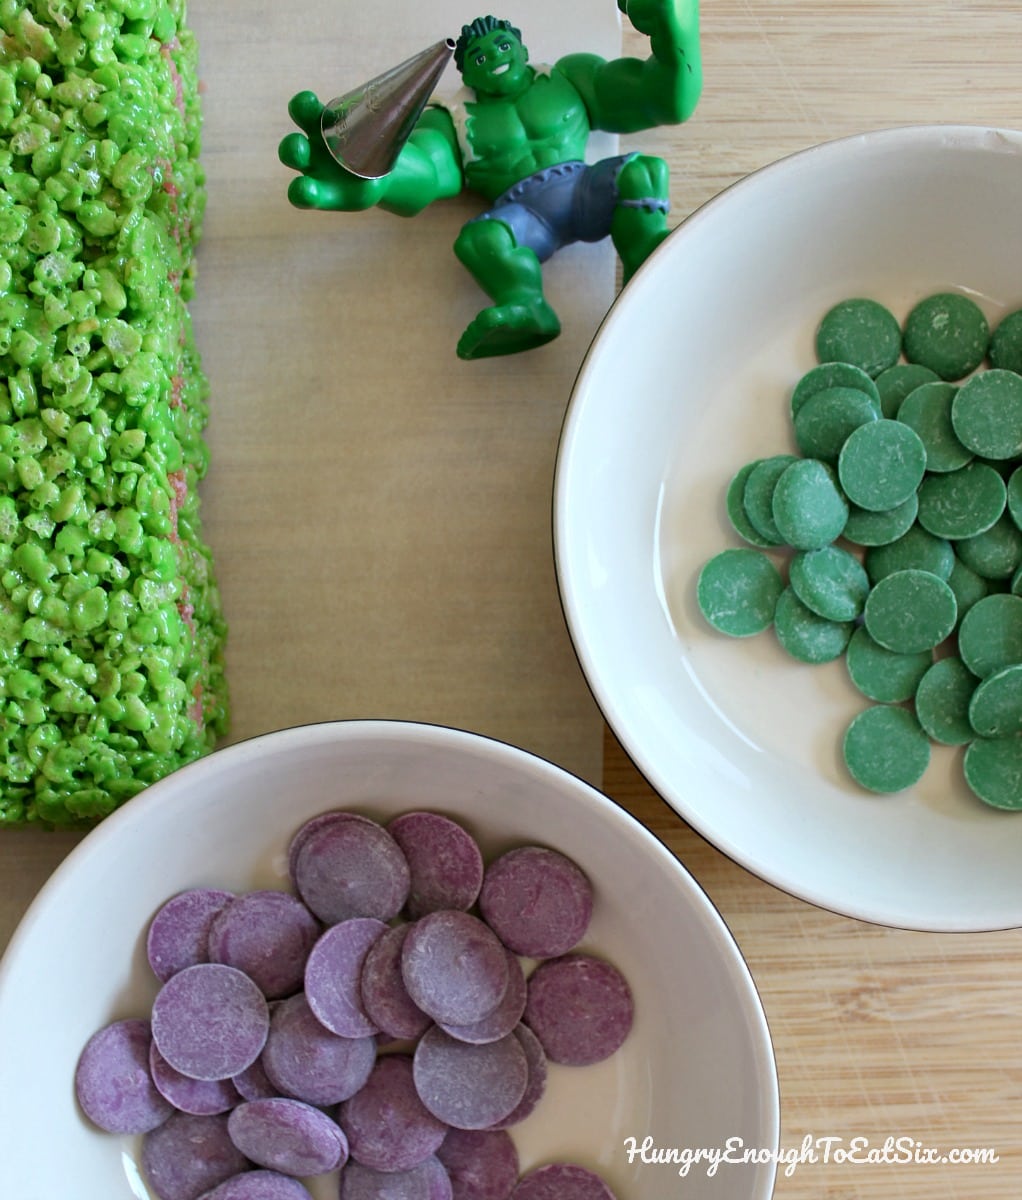
Pour the Candy Melts into a microwave-safe dish, and gently heat and stir them, just until they're melted and smooth.
Coat the apples
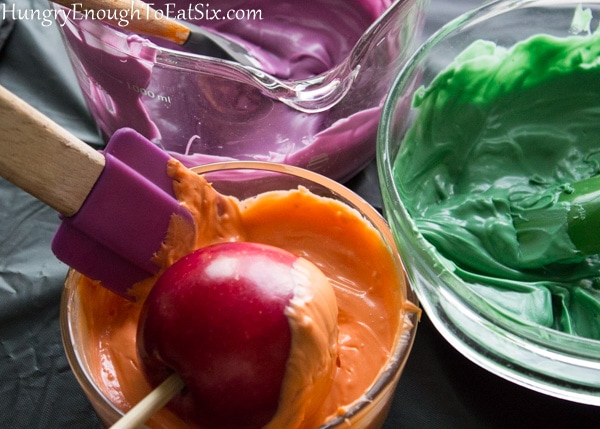
Hold the apple by the stick, and roll it in the melted Candy Melts to coat the top and sides. Add candy eyeballs to the apples.
Let them dry
Coat all the apples, then stand them up to dry. Then take a big bite!
Halloween Candied Apples FAQs
One option to keep your melted Candy Melts melted as you dip the apples is to set the bowl or bowls of melted candies on top of a heating pad. The pad should be set to the medium temperature setting.
Wilton also makes a plug-in melting pot for Candy Melts, a handy tool for this and other Candy Melt recipes.
You can also keep Candy Melts melted by setting the bowls in a bowl of hot water. However, you have to be careful with this: any amount of water will cause Candy Melts to seize. Handle the bowls carefully so that no water drips or splashes into the Candy Melts.
If your melted Candy Melts seem too thick, you can thin it by adding a small amount of vegetable shortening. Wilton also makes a product called EZ Thin that is great for thinning Candy Melts. Do not add water to try to thin the candy—water will make it seize. Overheating Candy Melts will also cause seizing.
Tart apples like Granny Smith or McIntosh are good choices—they're crisp and are a great balance with the sweet candy coating. However, you can really use any apple you like!
Plan to eat your candied apples within two to three days of making them, for the best quality of both the apple and the coating. Keep the apples covered at room temperature.
Halloween Candied Apple Tips:
- Look for Candy Melts and candy eyeballs at stores that sell candy-making and cake-decorating supplies, or order them online.
- The Candy Melts melt easily—just be sure not to overheat them, as they seize when the temperature gets too high.
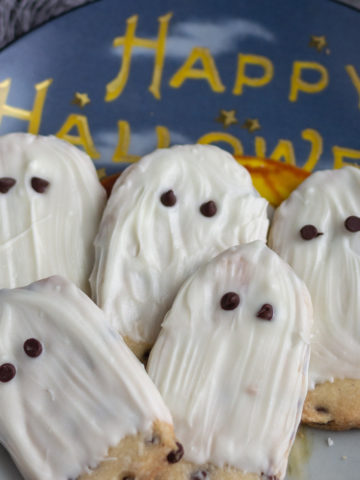
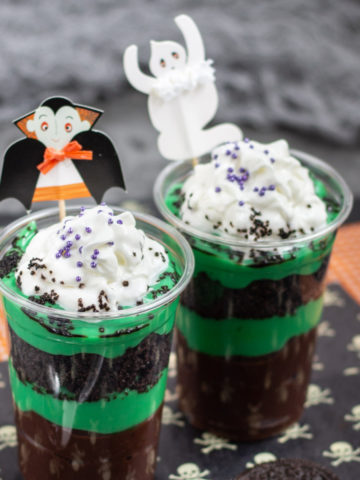
The recipe for Halloween Candied Apples is below, and here are more, fun Halloween recipes, too:

💬 Did you make and devour this recipe? Leave a comment below.
📖 Recipe
Halloween Candied Apples
SAVE THIS RECIPE OR POST!
Ingredients
- 1 package Wilton Candy Eyeballs (small-sized, medium-sized or a combination of both)
- 12 ounces Wilton Candy Melts (great colors for Halloween are Lavender, Green, and Orange)
- 12 wood treat sticks
- 12 medium apples like McIntosh or Granny Smith, washed and polished dry
Instructions
Get materials ready:
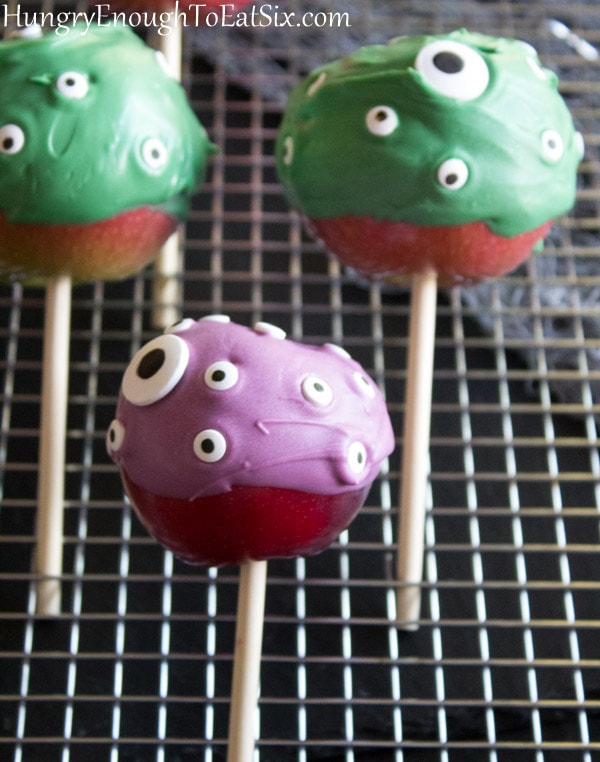
- There are two ways to let the coated apples dry: apple-side down on a sheet of wax paper, with the sticks pointing up, or by pushing the stick end into a sturdy block of Styrofoam or a shallow, sturdy cardboard box with holes punched in the lid. Choose the best one for you, and have it set up by your work area.
- Pour the candy eyes into a small dish.
- Stick a wooden treat stick into the bottom of each apple, leaving enough stick out to use as a handle.
Melt the candy melts:
- Pour the Candy Melts in a medium-sized heat-proof bowl. Use separate bowls if you're using more than one color.
- Microwave the Candy Melts in 30 second bursts, stirring each time, until the candy is completely melted and smooth. (It will be a little thick. Do not overheat it.)
Coat the apples:
- Holding the apple by the stick, roll it through the melted Candy Melts until the top and sides are coated. Tap off the excess or use a small rubber spatula to smooth off the excess.
- While the coating is still wet, press candy eyeballs all over the apple. (Add in 1 or 2 larger eyeballs if you're using them.)
- Stand the finished apple up on the wax paper or in the foam or cardboard block.
- Continue to dip and decorate the remaining apples. Allow them to dry completely ; this should only take 10-15 minutes.
- When the apples are all dry you can serve them immediately. or gently wrap them in plastic wrap.
- Store them at room temperature for up to two days.
Notes
- Look for Candy Melts and candy eyeballs at stores that sell candy-making and cake-decorating supplies, or order them online.
- The Candy Melts melt easily—just be careful not to overheat them. The candy will seize up if the temperature gets too high.
- Keep Candy Melts warm and melted by setting the bowls on top of a heating pad set to the medium setting. You can also set the bowls of Candy Melts in a bowl of hot water; however, don't allow any of the water to splash into the Candy Melts. Water will make it seize.
Nutrition


Comments
No Comments