

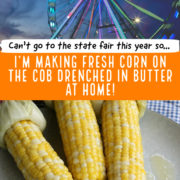

Bring the best flavors of a New England state fair home! One of my favorite fair treats, here's how to make Corn on the Cob at home, boiled or grilled, for backyard cookouts and summer suppers for the family.

This post contains affiliate links and I may earn a small commission when you click on the links at no additional cost to you. You can read my full disclaimer here.
My favorite part of going to the fair is the ridiculously indulgent food. There are some years though when we just can't get to the fair: whether because of other plans or to save the money. And when we can't go we miss the food most of all.
In these instances, or when we just find we're craving that fair food outside of fair season, it's the perfect time to make our state fair food at home.
Today? Today I'm dreaming of sweet Corn On The Cob with butter. Whether your state fair boils the corn or grills the corn, I'll show you how to do it at home!

In a nutshell... 🐿️
- What this is: A homemade take on one of the best state fair treats: hot, buttery corn on the cob, either grilled or boiled!
- You'll love this part: You can use an outdoor grill or a big pot on the stovetop to cook up fresh ears of corn to perfection.
- How it's made: Prepare the corn on the cob for the grill or for the boiling water, then cook or grill the ears until tender. Top them with butter and seasonings.
Jump to:
What do you love about the state fair?

The fair has so much to look forward to: those stomach-churning rides, noisy games with questionable odds, and grandstand entertainment featuring bands you remember hearing on the radio in high school.

Our local fair is also at its heart an agricultural fair. There are happy, lazy cows in the barns, fancy breeds of chickens, 4-H kids helping everywhere, sheep shearing demonstrations, horse pulls, and prize-winning produce.

And while the food stands have plenty of fried food and sugary sweets, there are plenty of dishes centered around local produce—like baked potatoes, caramel apples, and of course, buttered corn on the cob. At the Champlain Valley Fair in Vermont, the Rotary Club runs a corn on the cob stand every year.

The first time my husband and I had this corn at the fair was on a cool, rainy evening, way back in the old days when we were first dating. The steaming, buttery ears of corn seemed decadent and their warmth chased away the dampness and chill.
That night confirmed for us that corn on the cob is one of our favorite foods to find at the fair!
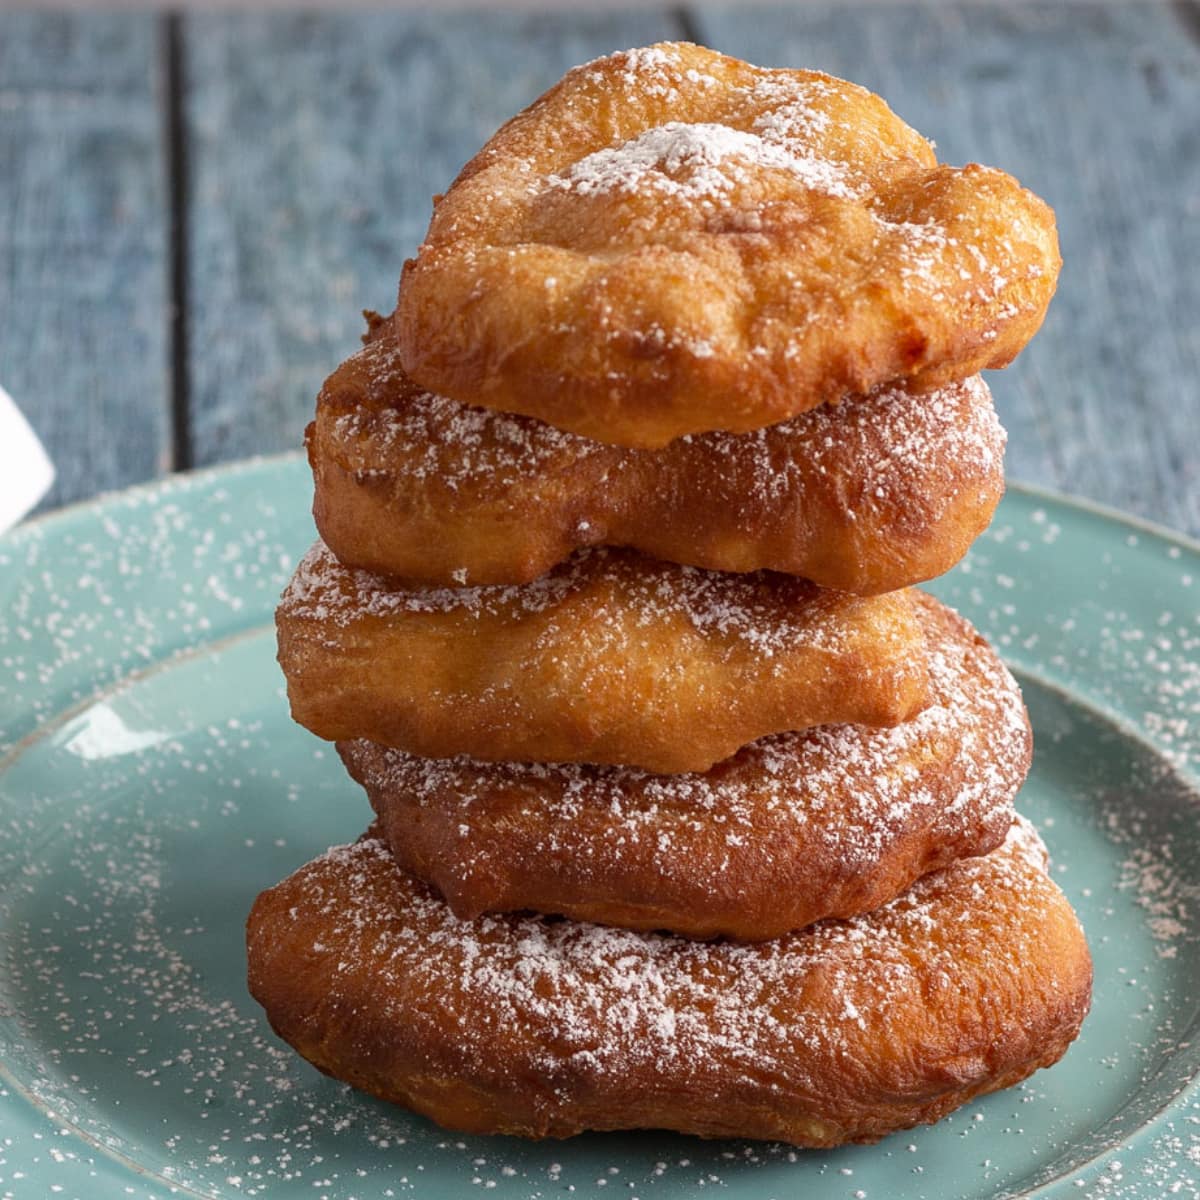
Another state fair favorite!
County Fair Fried Dough
Fresh and hot homemade Fried Dough is so good with powdered sugar and butter.
Why you'll love making state fair-style Corn on the Cob at home

Fresh-cooked, sweet corn on the cob is dang satisfying, so don't wait for the fair to come to town—cook some at home. Some fair food stands boil ears of corn in their husks; others remove the husks and boil them plain. Other vendors grill the corn in the husks, then fold the leaves back to make a convenient handle.
I'll show you how to it up at home, both boiling ears of corn on the stovetop and grilling corn ears on the barbecue.
And then comes the glorious butter! Once the corn is cooked and the husks pulled back, I DRENCH the hot ears in butter. At our fair they actually dunk the ears—literally submerge them, in melted butter.
In my recipe, I ladle melted butter over the corn on the cob, a much easier method and still an effective way of getting that golden melted butter onto every single kernel! The final touch is a sprinkle of salt; sometimes also black pepper and herbs, too.
And after all of that, how does the homemade Corn on the Cob taste? Well, to properly describe it, I'd need to write out that noise that you hear on The Simpsons, the one that Homer makes when he dreams of delicious food. Something like, "AaggaGGhGhghGhGhghhhh."

When you take a bite of your own sweet corn with butter, you'll know just what I mean.

Another fair fave!
Sausage, Peppers, and Onions
Grill brats, bell peppers, and sliced onions to perfection, for that smoky, savory flavor just like at the fair.
🔪 How to make Corn On The Cob

Ingredients:
- Sweet corn: Pick up whole ears of sweet corn with the husks still on. You'll see corn on the cob hit grocery stores as early as May, but in the Northeast, the best-tasting ears will come later in the season, picked fresh every day by local growers and sold at roadside stands and farmer's markets.
- Butter: I use unsalted butter since I add my own salt to the ears, but you can use salted butter like Kerrygold if you'd like!
- Seasonings: I keep it simple with just salt and a little black pepper. You can also try your own favorite seasoning blends like a Southwest blend, Montreal steak spice, or one of my favorites, Penzey's Sunny Paris blend with shallots, chives, and dill.
SAVE THIS RECIPE OR POST!
Boil your corn on the cob

Pull the leaves down so that you can remove the silk; either put the leaves back up around the corn, or tie them back like a handle. Boil the ears of corn until the kernels are tender.
Grill your corn on the cob
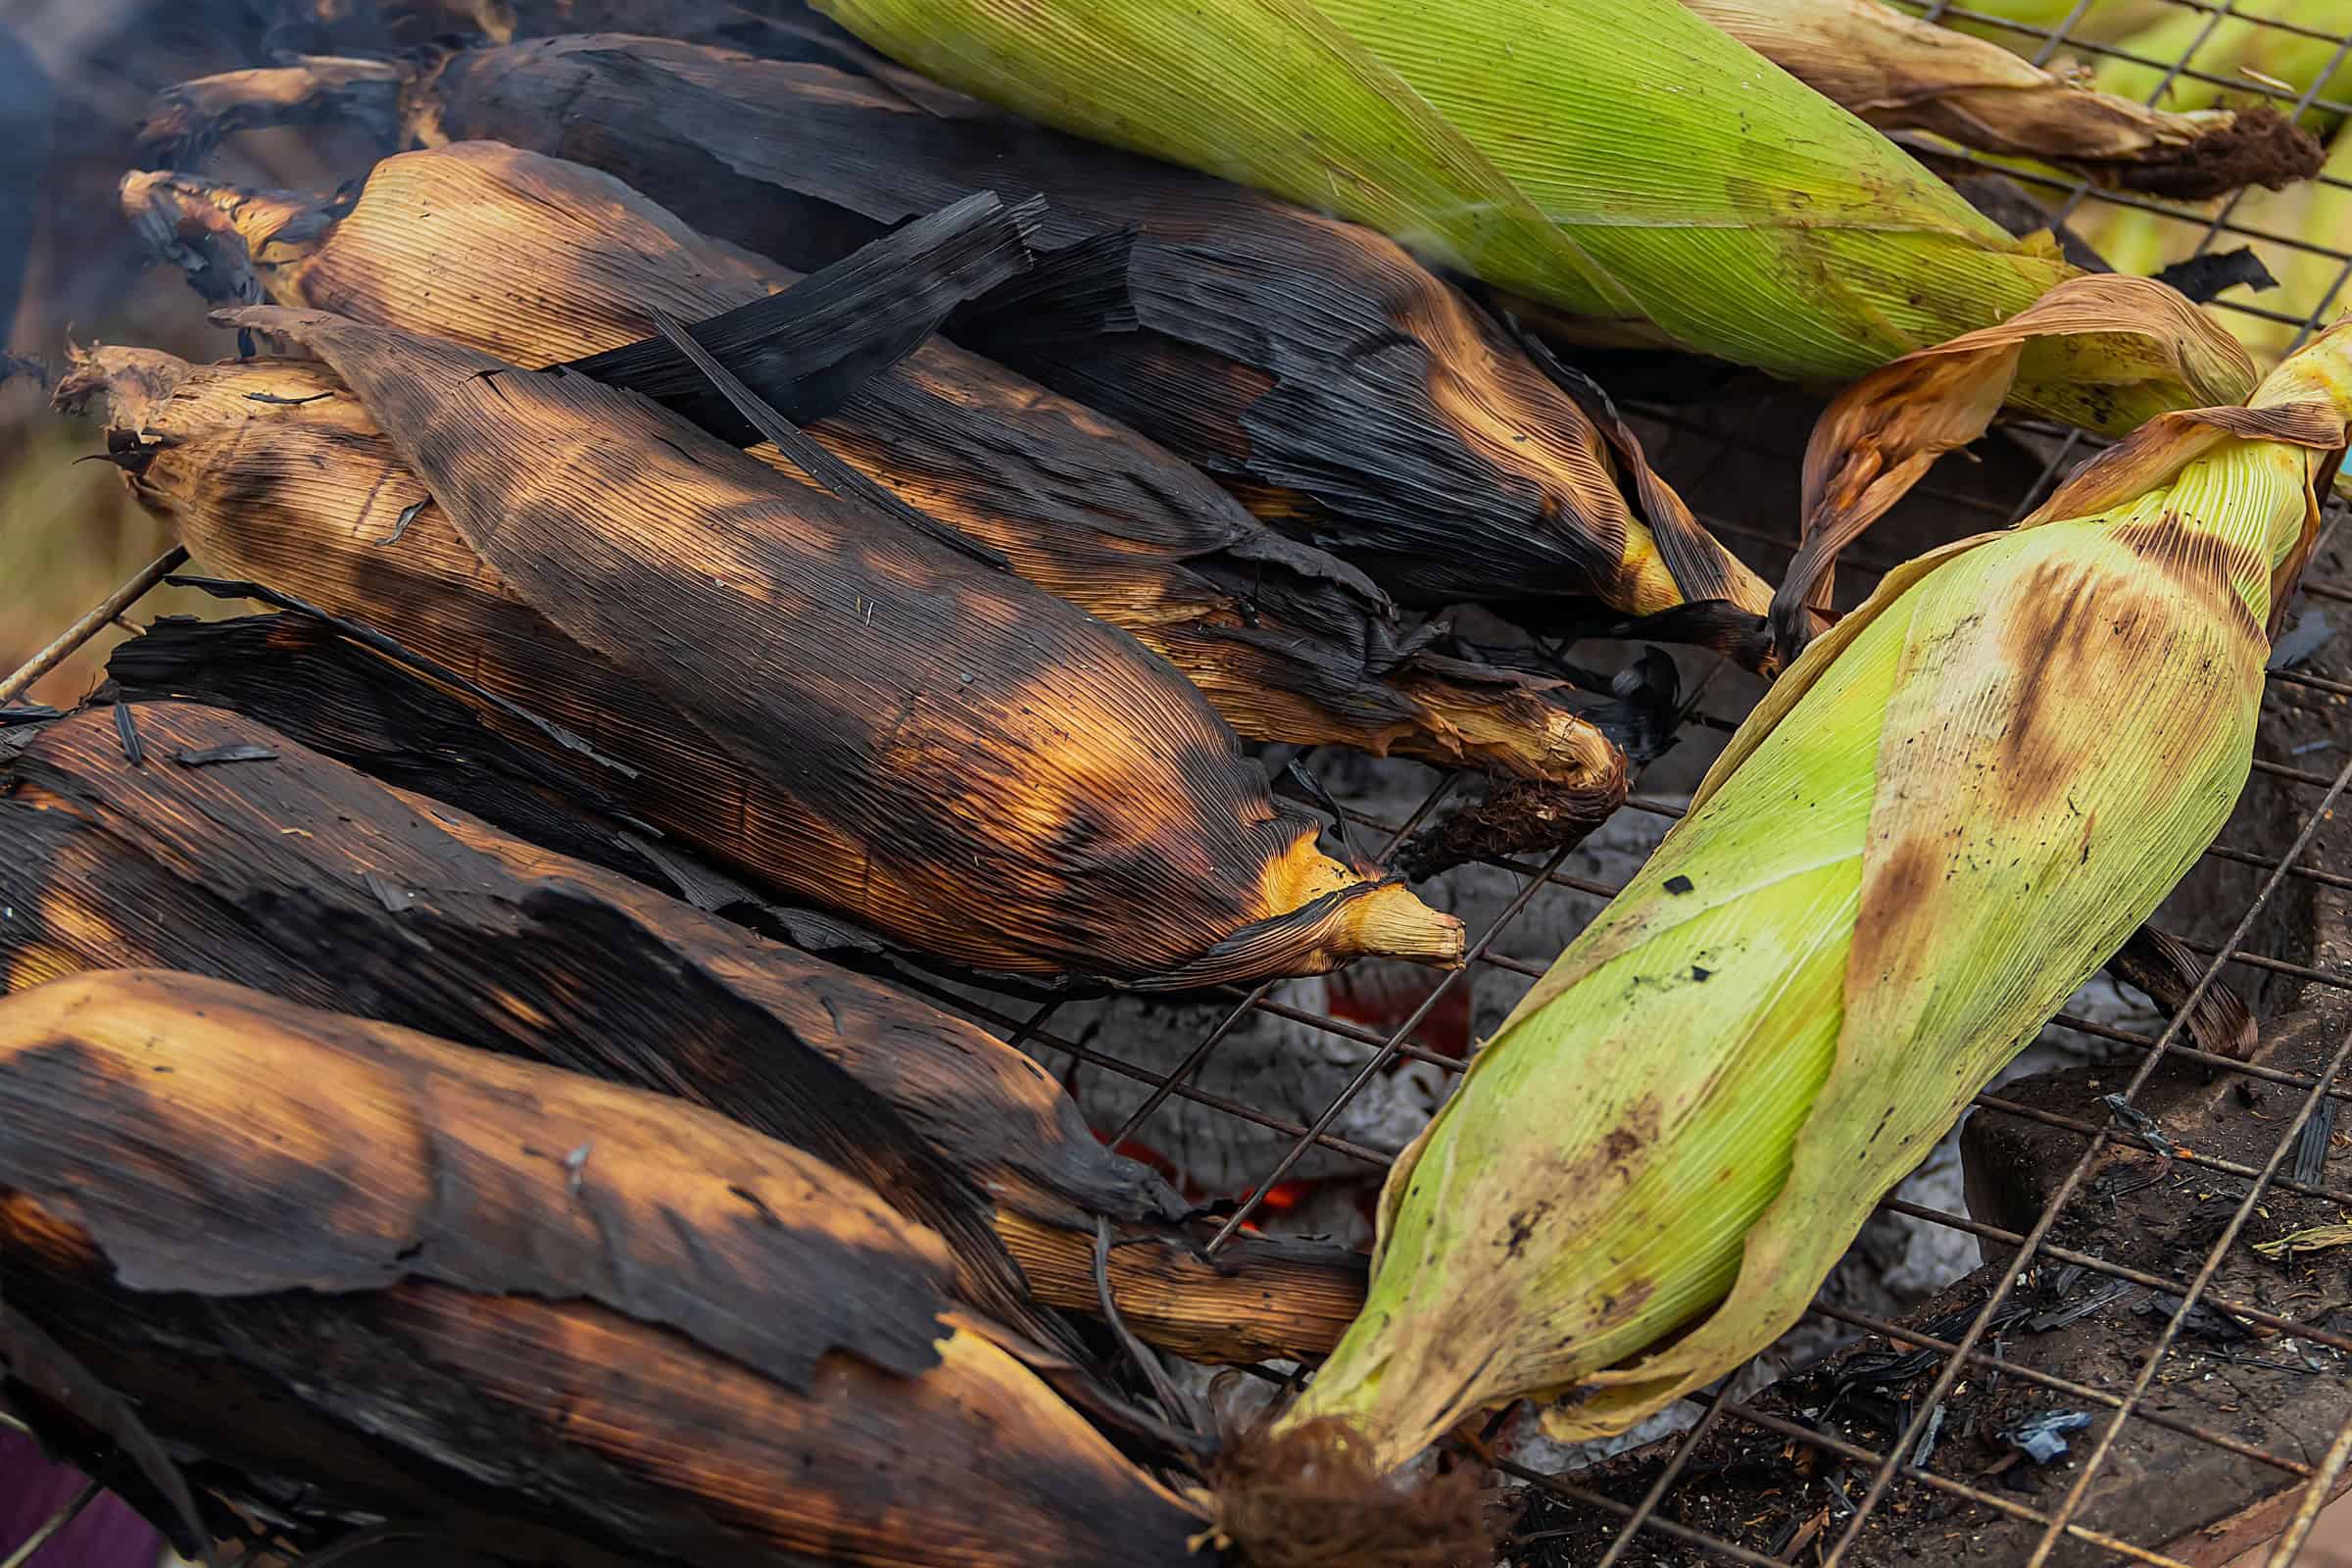
You can remove the silks first or just use the ears of corn the way they are. Soak them in water, then grill the corn until the husks are blackened. The kernels inside will be steamed and tender. Fold back the husks and tie them.
Drench the corn in butter

Use a ladle to drench the cooked corn on the cob in melted butter. Sprinkle on some salt, pepper, or your own favorite seasonings, and enjoy!
Is it better to boil or grill corn on the cob?
Both boiling and grilling are very tasty ways to enjoy corn on the cob! As I shared in an article for Simply Recipes, boiling corn on the cob tends to create juicer corn kernels while grilling makes the corn tender but also a little chewy. Grilling also has the added bonus of giving the corn a light smoky flavor, and it smells incredible as it grills.
Of course, since this recipe is about recreating the corn on the cob of your local county or state fair, nostalgia for your favorite fair foods may cast the deciding vote in whether you choose boiling or grilling! (It often does for me.)
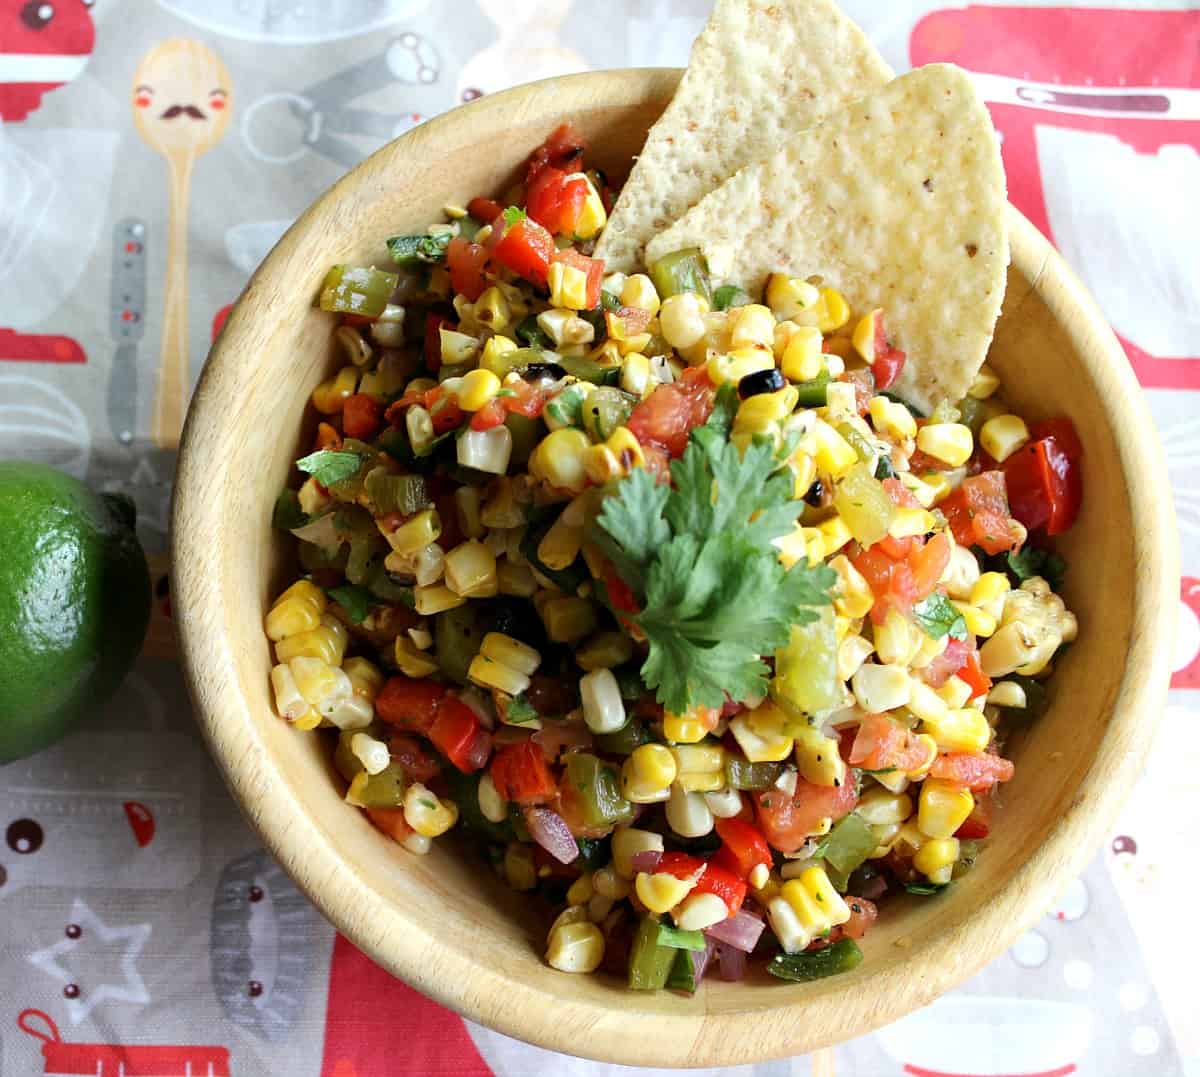
Calling all corn fans!
Grilled Corn Salsa
Pick up extra ears of corn, plus peppers and tomatoes, and make the most delectable batch of homemade salsa ever.
Sweet Corn on the Cob FAQs
For corn on the cob boiled in their husks, the ears should be boiled 10 to 20 minutes. Ears that have the husks pulled back or removed need only about 5 minutes in the boiling water to cook through. The freshest corn will cook the quickest. Corn on the cob is done when the kernels are tender and easily pierced with the tines of a fork.
Yes, I do wait for the water to reach a rapid boil before I add in the ears of corn. It's easier to gauge this way the exact amount of time the corn has been actually been cooking, and that means no chance of under or overcooking the corn kernels.
When soaked in their husks and placed directly on the grill grates over medium-high heat, corn on the cob will cook through in 15 to 20 minutes.
When the leftover ears of corn are cool, use a sharp knife to slice the kernels off the cob. You can then use the corn in all kinds of dishes: reheat it to eat as a side dish, use it to make Corn Salsa, or use the kernels to make recipes like esquites, a salad version of Mexican street corn. Or, use it to make my cheesy, warm Corn Jalapeño Queso Dip. Basically, any recipe that calls for the addition of canned or frozen corn, like pasta salads or casseroles, you can use the kernels from leftover corn on the cob in their place.
Oh my gosh—you can make Corn on the Cob as side dish for SO many things! It's a given that anything you'd make for your backyard barbecue, like burgers, hot dogs, grilled chicken, or grilled vegetables, is very delicious with ears of buttered corn. I would also make Corn on the Cob as a side with meatloaf, roast chicken, veggie burgers, cacio e pepe pasta, and pulled pork sliders.
If you like seafood, corn on the cob is very tasty with lobster (both with lots of butter), fried clams, steamers, and scallops.
And, if you're a fan of light suppers, you can even just make a couple of ears of corn as the main course, paired with a little bread and butter, and a light beer or glass of white wine.

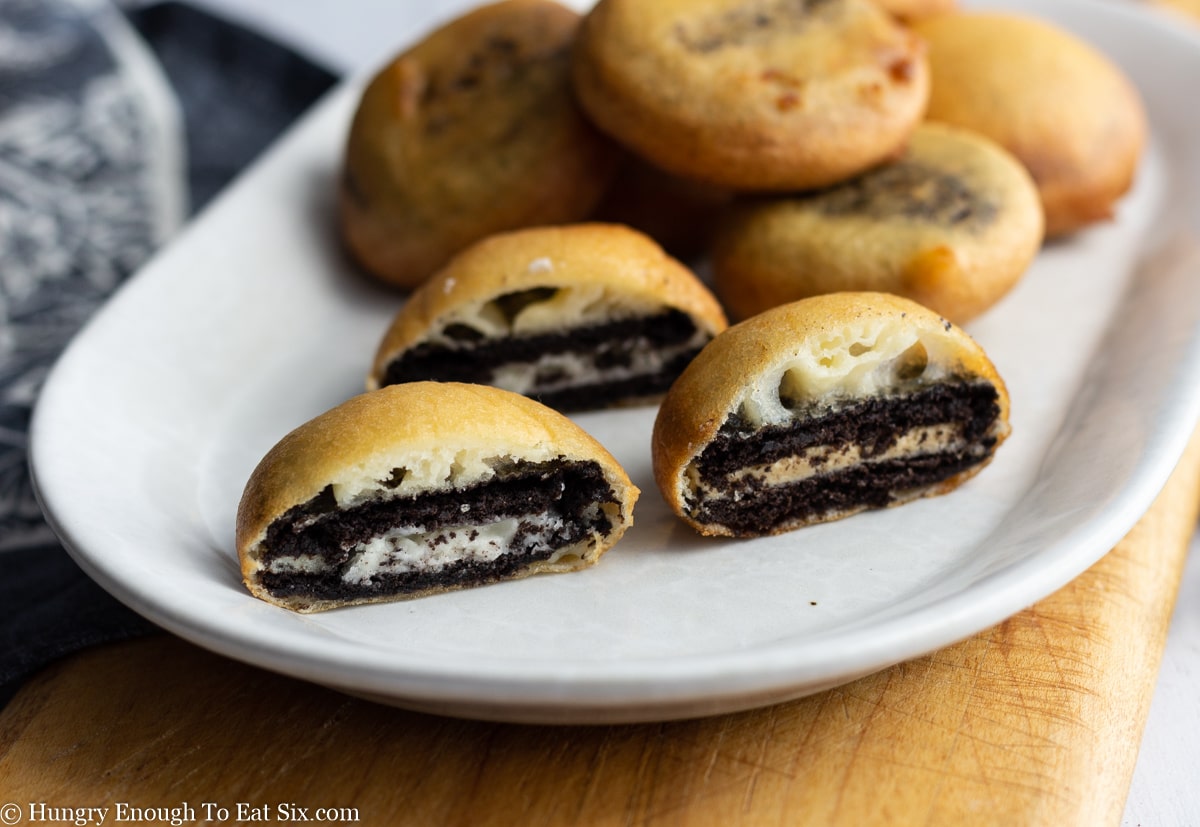
For dessert...
Fried Oreos
It's easier than you think to make a batch of hot, fried Oreos in your own kitchen!
Tips:
- Ideally, get your sweet corn from a farm stand or farmer's market so you know that it's just-picked. Once you have it home, use your corn on the cob as soon as possible. The sugars in sweet corn will start converting to starch very quickly after picking, so you'll get the best flavor when you eat it sooner rather than later.
- At our county fair, the corn is dunked into a vat of melted butter. This can be done at home if you have a tall, narrow, heatproof container (like a large mason jar.) Or, melt butter in a wide, shallow pot. Add in the cooked ears and roll them around in butter.

Everything you need to learn how to make Corn on the Cob is in the recipe below! And here are more corn-filled recipes for you:
💬 Did you make and devour this recipe? Leave a comment below.
📖 Recipe

How to Cook Corn On The Cob
SAVE THIS RECIPE OR POST!
Ingredients
- 4 ears fresh sweet corn in the husks (do not remove the leaves)
- ½ cup butter, melted (you will have extra)
- salt, black pepper, or other seasonings
Instructions
To boil corn on the cob in the husks:
- Fill a large stockpot with enough water to cover the ears of corn; add some salt to the water. Place the pot on the stove with the heat set to high.
- Prepare the 4 ears fresh sweet corn in the husks: for each ear of corn, carefully pull the leaves as far down as you can without ripping or removing them to expose the silk.
- Remove as much of the silk as you can, then fold the leaves back up around the corn. Tie the top closed with kitchen twine.
- When the water comes to a boil, submerge the ears of corn in the water. Boil the corn for 15 to 20 minutes, until the kernels are tender when pierced with a fork. The color of the corn will also be a slightly darker shade of yellow.
- Use tongs to remove the corn from the water and place them in a colander to drain, with the tops pointing down to let the water run out. Allow the ears to cool for 10 minutes.
- Hold the ear with a potholder or towel and peel back the leaves, folding them down at the bottom of the corn. You can tie the leaves with some kitchen string or wrap them in a cloth napkin or paper towel. Now you have a handle for your corn.
To boil corn on the cob without the husks:
- Fill a large stockpot with enough water to cover the ears of corn; add some salt to the water. Place the pot on the stove with the heat set to high.
- Pull the husk leaves down as you can without ripping or removing them to expose the silk. Remove the silk, then tie the leaves together below the corn with kitchen string to create a handle.
- Another option is to remove the husk completely, but leave a few inches of cob intact to act as the handle.
- Place the ears of corn in the boiling water, leaving the husk handle out of the water resting against the edge of the pot. (If the leaves are removed, it's okay to submerge the entire ear of corn.)
- Boil the corn for about 5 to 7 minutes, until the kernels are tender when pierced with a fork. The color of the corn will also be a slightly darker shade of yellow.
- Use tongs to remove the corn from the water and place them in a colander to drain, with the tops pointing down to let the water run out.
To grill corn on the cob:
- Place the whole ears of corn, husks intact, into a large dish or pot and submerge them in cold water. Soak the corn on the cob for 30 minutes.
- Heat the grill to medium-high heat, then place the soaked ears directly on the hot grill grates.
- Close the cover and grill the ears of corn for 15 to 20 minutes, turning them once or twice for even cooking. The leaves will be blackened and the cooked corn kernels should be tender.
- Transfer the grilled ears to a platter and let them cool for 10 minutes. Then, hold the ears with a cloth while you fold back the blackened husks. Tie them at the end of the cob using kitchen string, to create a handle.
Add butter and seasonings:
- Have the melted butter ready in a shallow dish.
- Hold the cooked corn on the cob over the dish and ladle ½ cup butter, melted over the kernels, turning the ear to coat it completely. Allow the excess butter to drip off and then place the corn on plates to serve.
- Sprinkle the ears of corn with salt, black pepper, or other seasonings. Then, hold the ear by the husk or cob handle and eat your corn on the cob while it's hot!
- Makes 4 servings.
Notes
-
- Ideally, get your sweet corn from a farm stand or farmer's market so you know that it's just-picked. Once you have it home, use your corn on the cob as soon as possible. The sugars in sweet corn will start converting to starch very quickly after picking, so you'll get the best flavor when you eat it sooner rather than later.
- At our county fair, the corn is dunked into a vat of melted butter. This can be done at home if you have a tall, narrow, heatproof container (like a large mason jar.) Or, melt butter in a wide, shallow pot. Add in the cooked ears and roll them around in butter.
Nutrition



Corn Corn Corn! says
It's corn! This recipe captures the nostalgic joy of fairground corn...tender, buttery, and bursting with summer flavor.
Nancy Mock says
It sounds like you love corn as much as I do! Thank you for making this recipe, I hope it's one you come back to and make again.
Doug says
Wonderful but to add an additional layer of flavor sprinkle with chat spice and squeeze a lime over it. Served this way in Malaysia.
Nancy Mock says
Hi Doug - great suggestion! I've never tried chaat on buttered corn, but it does sound delicious. I do like a squeeze of lime over ears of elote. And now I'm really craving some corn! Thank you for this idea. 🙂
Susie says
How much is corn on cob at fair
Nancy Mock says
That'll vary depending on where you live and the year! My recollection is that ears of buttered corn were between $4-$6 each.
Stephanie Faris says
Sounds yummy. When you bite into it, does the butter go everywhere?
Nancy Mock says
Oh absolutely, it's a hot mess. 🙂
Jo says
I wrote about corn on my blog the other day. I microwave my corn in the husks and find it so much easier. I do NOT have butter on mine. Too many calories, but find the corn just as delicious without it.
Nancy Mock says
Microwaving is a great idea, especially for days like we've had this week (really hot and humid.)
lorilmaclaughlin.com says
I love corn on the cob!!!!!
Nancy Mock says
Me too, have you had it at the fair?
lorilmaclaughlin.com says
No, but looking at those photos, I'll have to try it next year!